# Contents
# Objective
This document provides an overview of Contents and how to create them in order to be displayed in your application’s pages.
# Overview
The App Builder application provides the interface to manage Contents to the final user, using the WEB CMS integrated with the App Builder.
# How to create a Content
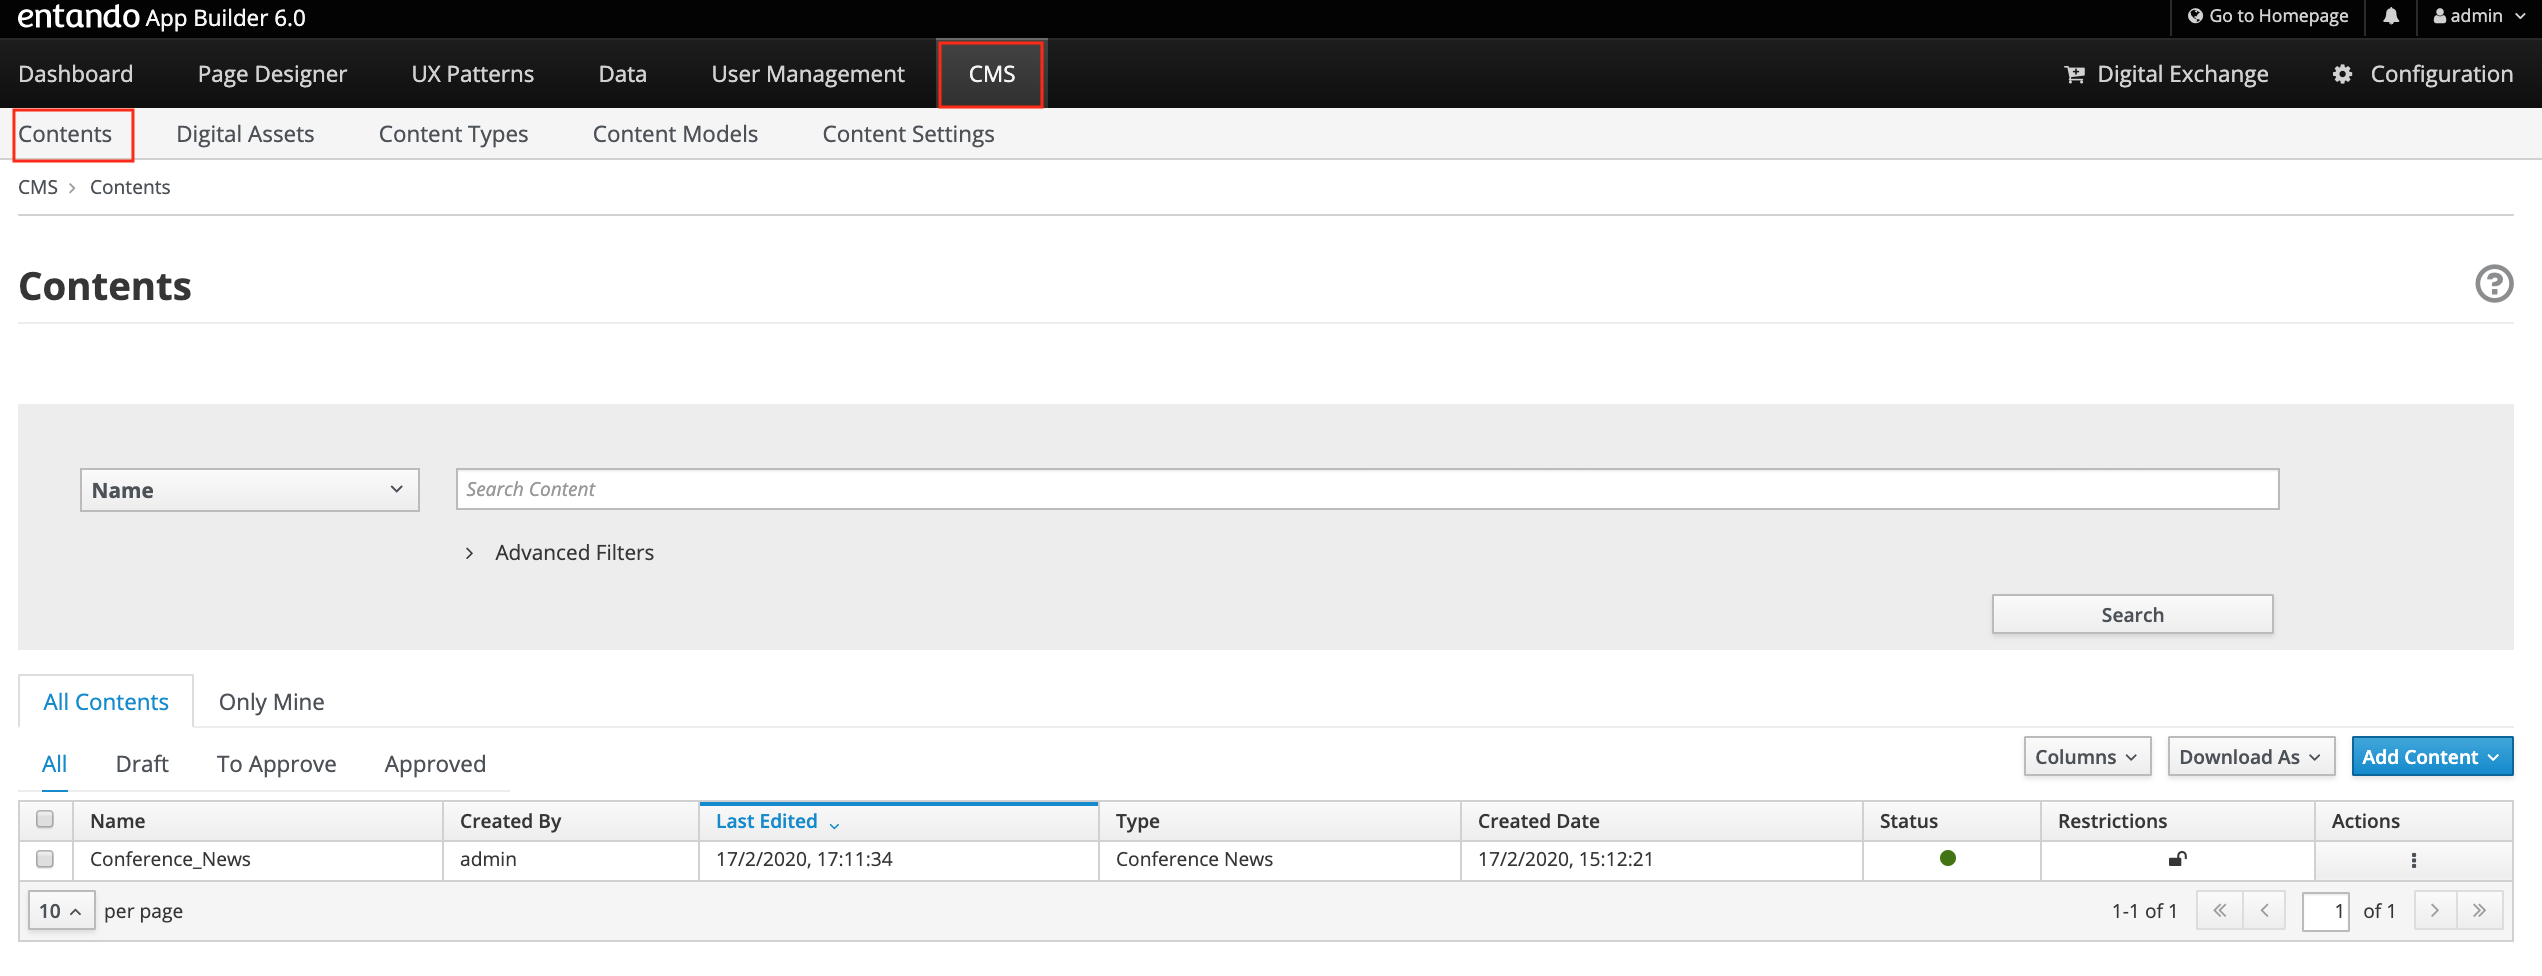
To manage Contents through the Web CMS
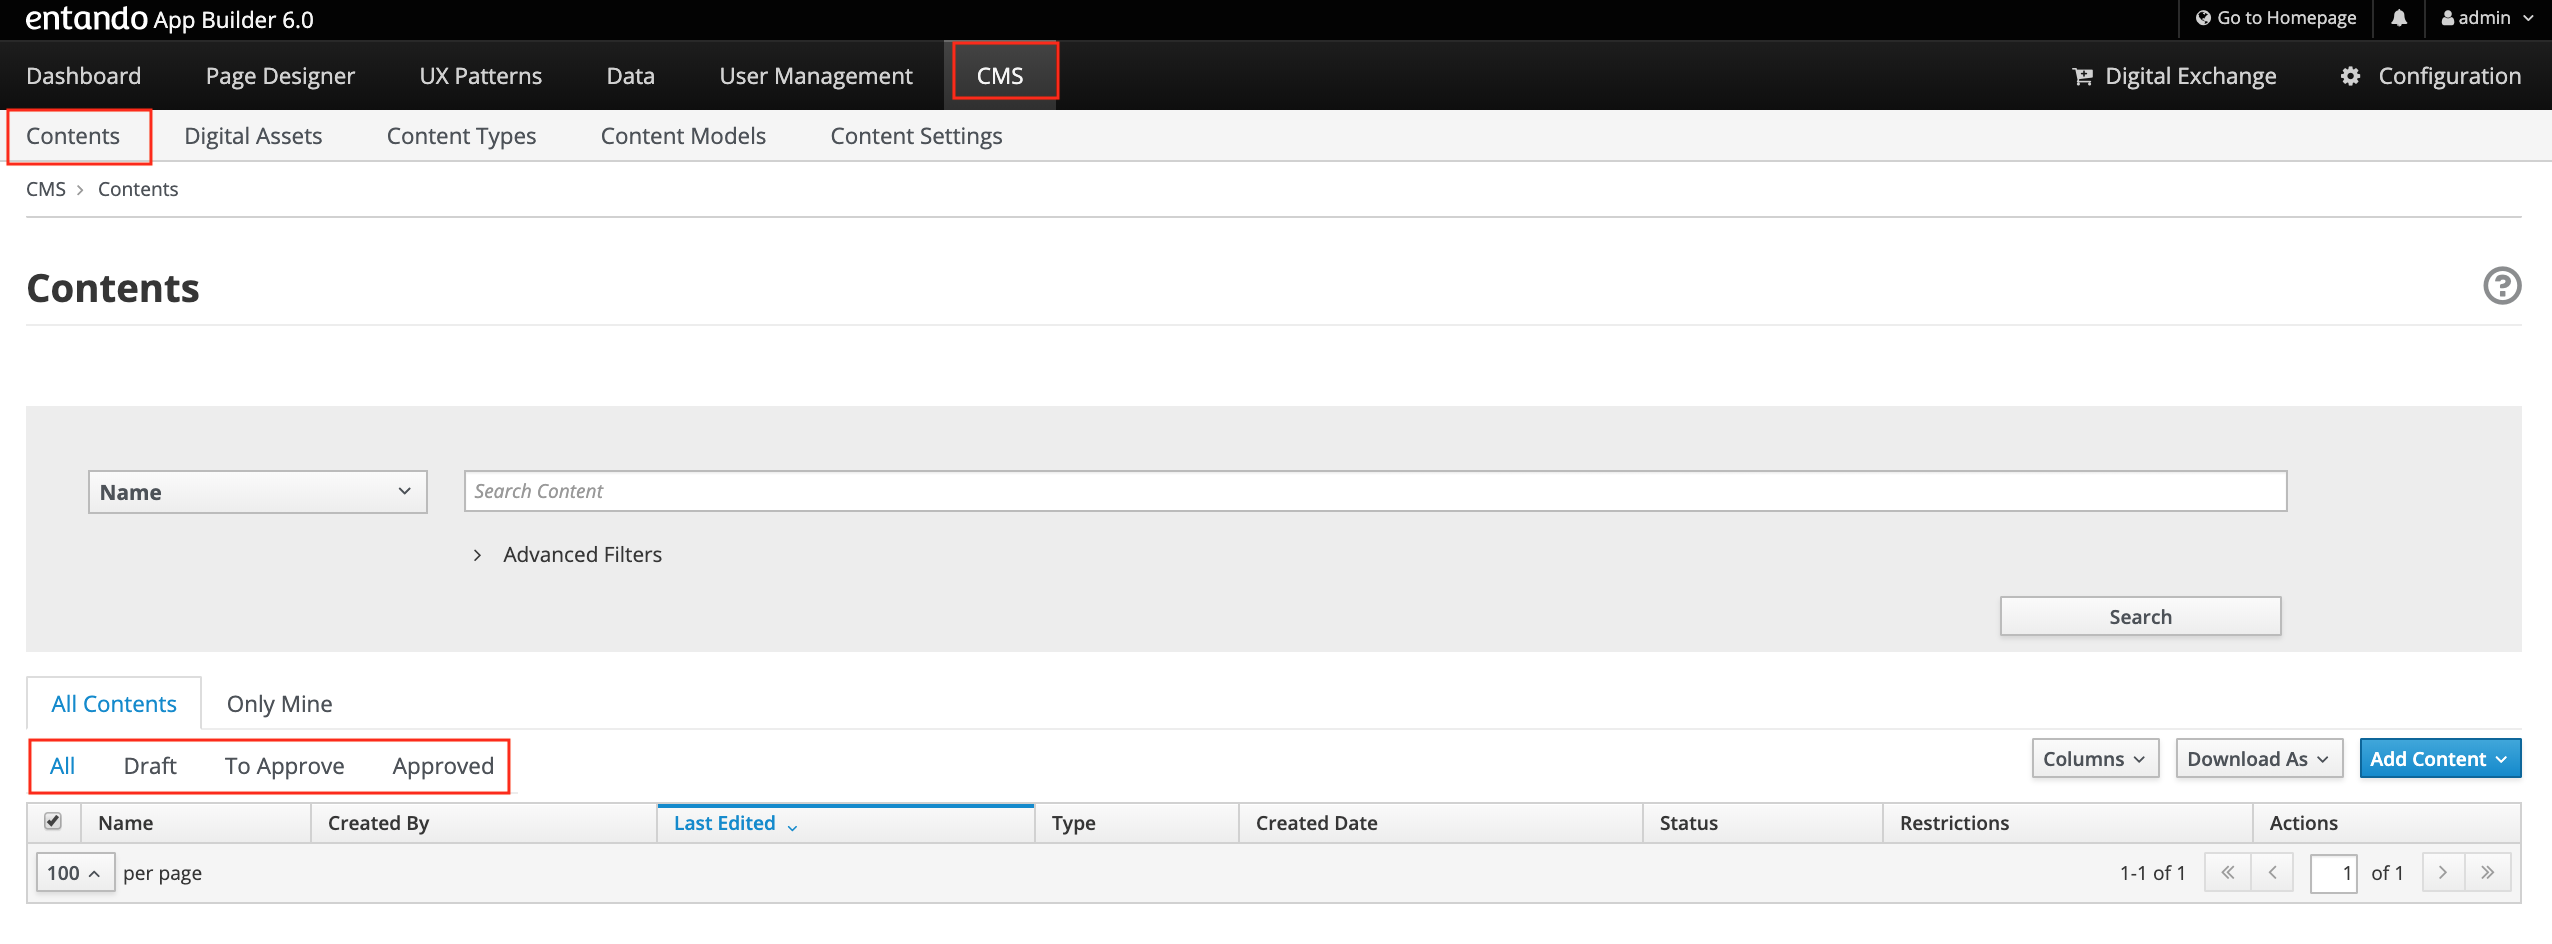
- Select the CMS section and click on the Content subsection; all contents already existing are displayed in a table list.
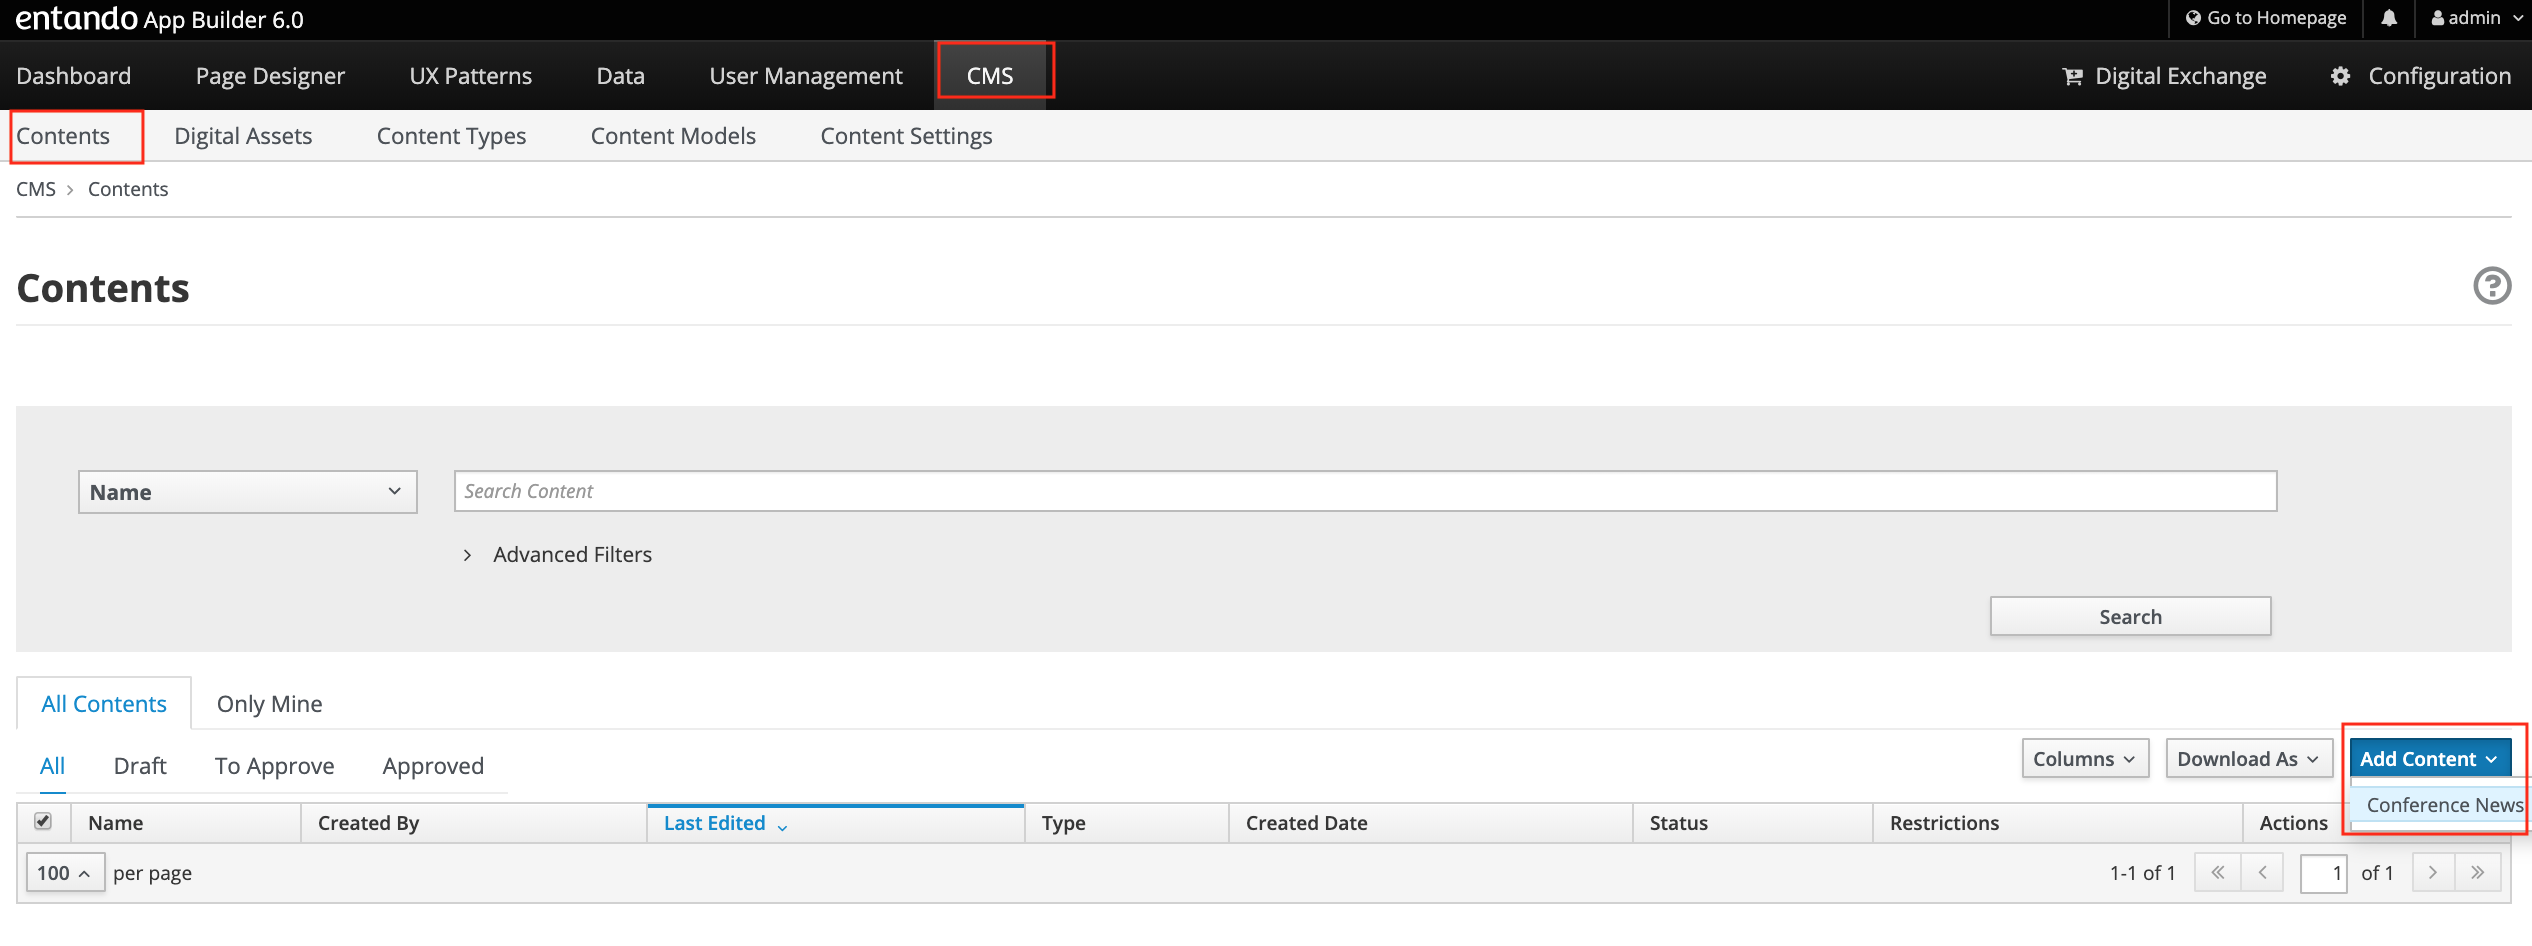
To create an additional Content and add it to the list
- Select the Add Content button. A drop-down list will let you choose which Content Type the content will be based on.
You will be asked to provide the information in distinct sections
Info
Content Type. The information is pre-filled, it is the content type on which the content is based.
Description. It’s the content ‘s name or description. It is mandatory.
Groups
Owner Group. A drop-down list will let you choose the available users group that can administrate /manage the content. It is mandatory.
Join Group. A drop-down list will let you choose the available users group to share the content with. They can’t administrate it. It is not mandatory.
Categories. You can select the categories to join the contents to provide a classification schema of them. It is not mandatory.
Content Attributes. You must fill out the attributes fields defined by the content types on which the content is based. It is mandatory.

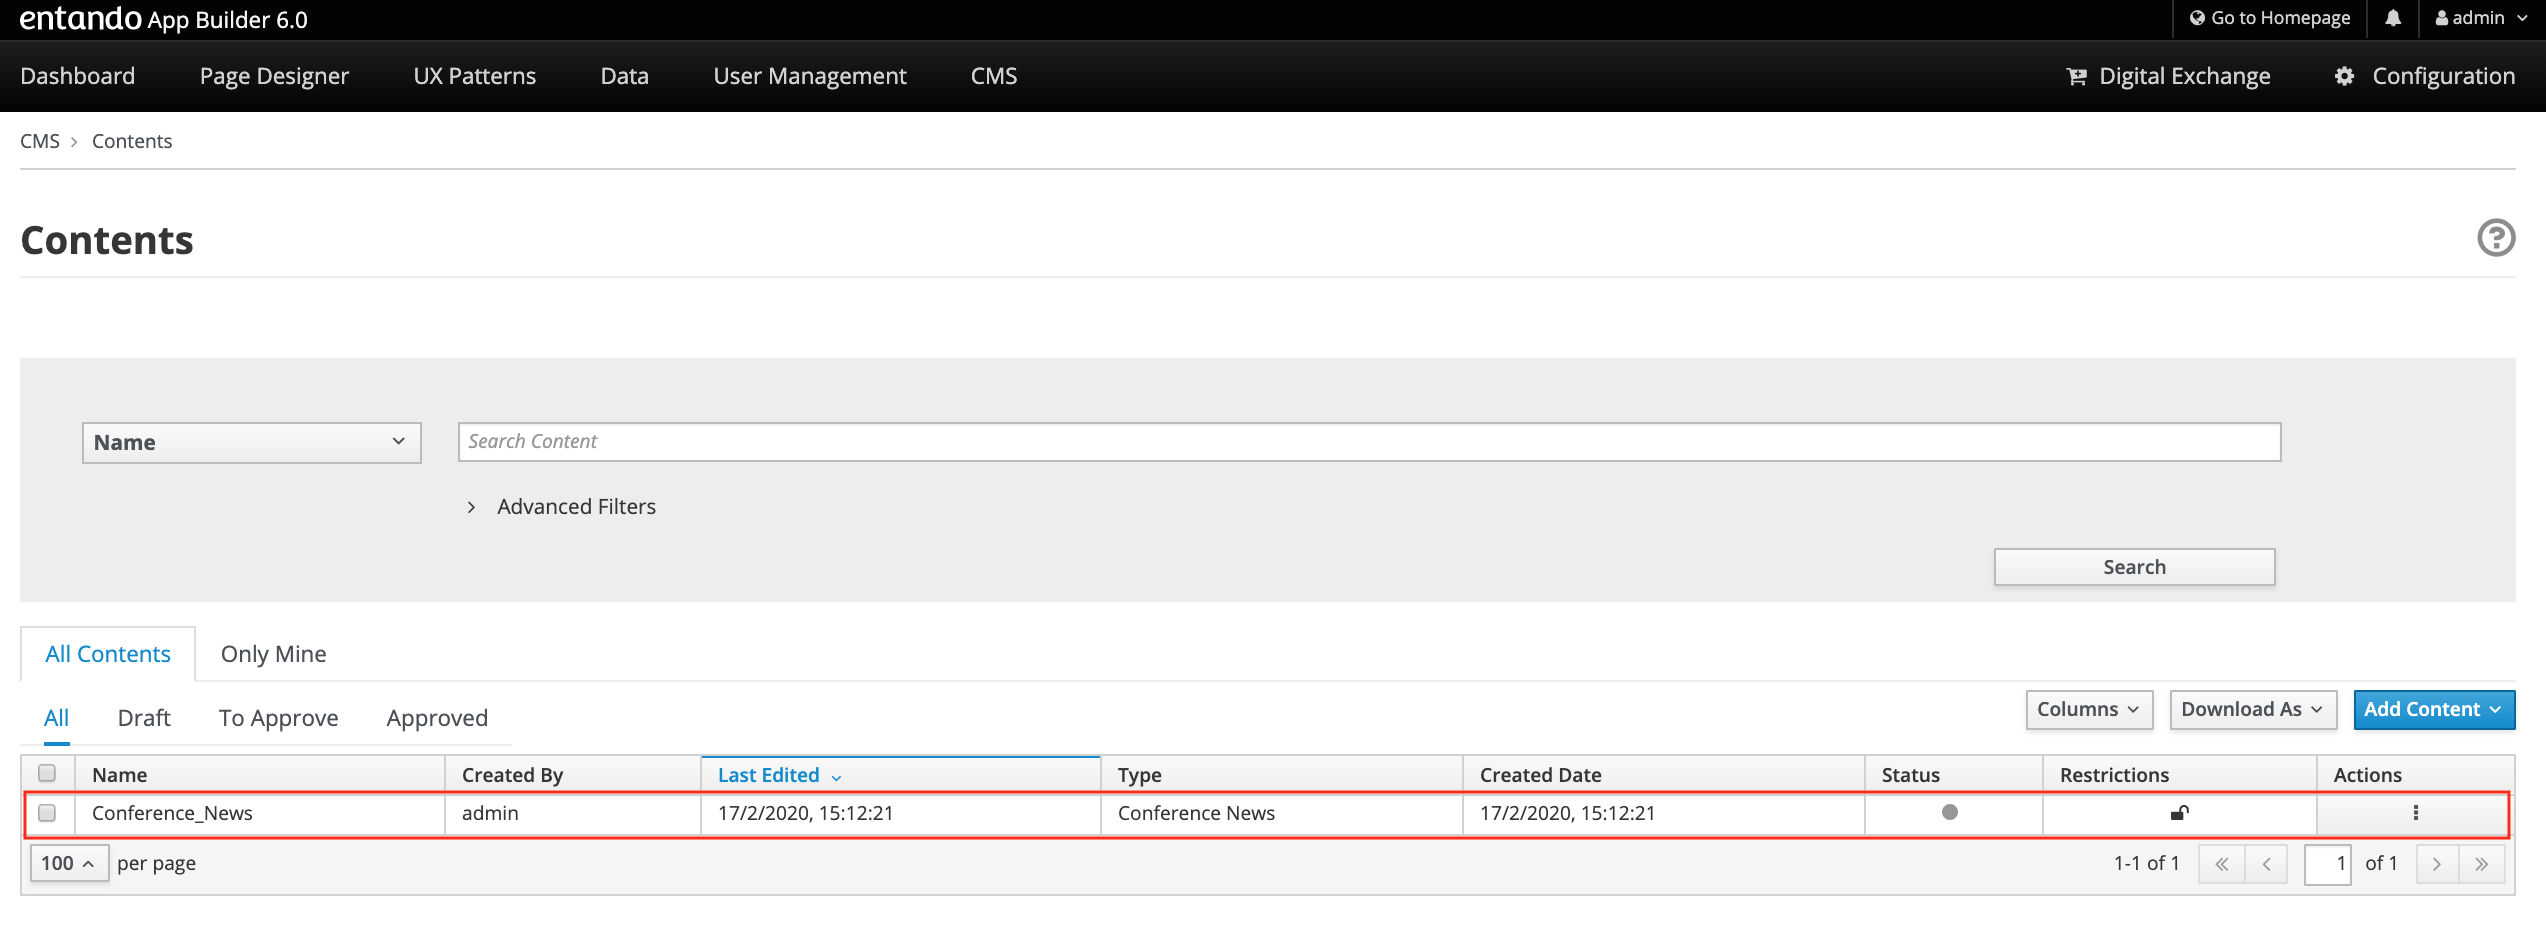
At least the additional content is added and displayed in the list by selecting
Save button. The content will be saved in a draft version.
Save and Approve button. The content will be saved, approved and published.
# 
You can list the contents by filtering with
All. All created contents are displayed (Draft, To Approve and Approved/Published)
Draft. All created contents and saved by only clicking on the Save or Save and Continue button. The content is not approved and consequently it is not ready to be published.
To Approve. All created contents, moved in Ready status, then saved by clicking on the Save or Save and Continue button. The content is ready for review but has not yet been approved and consequently it has not been published.
Approved. All created contents that have been saved and approved by clicking on the Save and Approve button. It has been published.
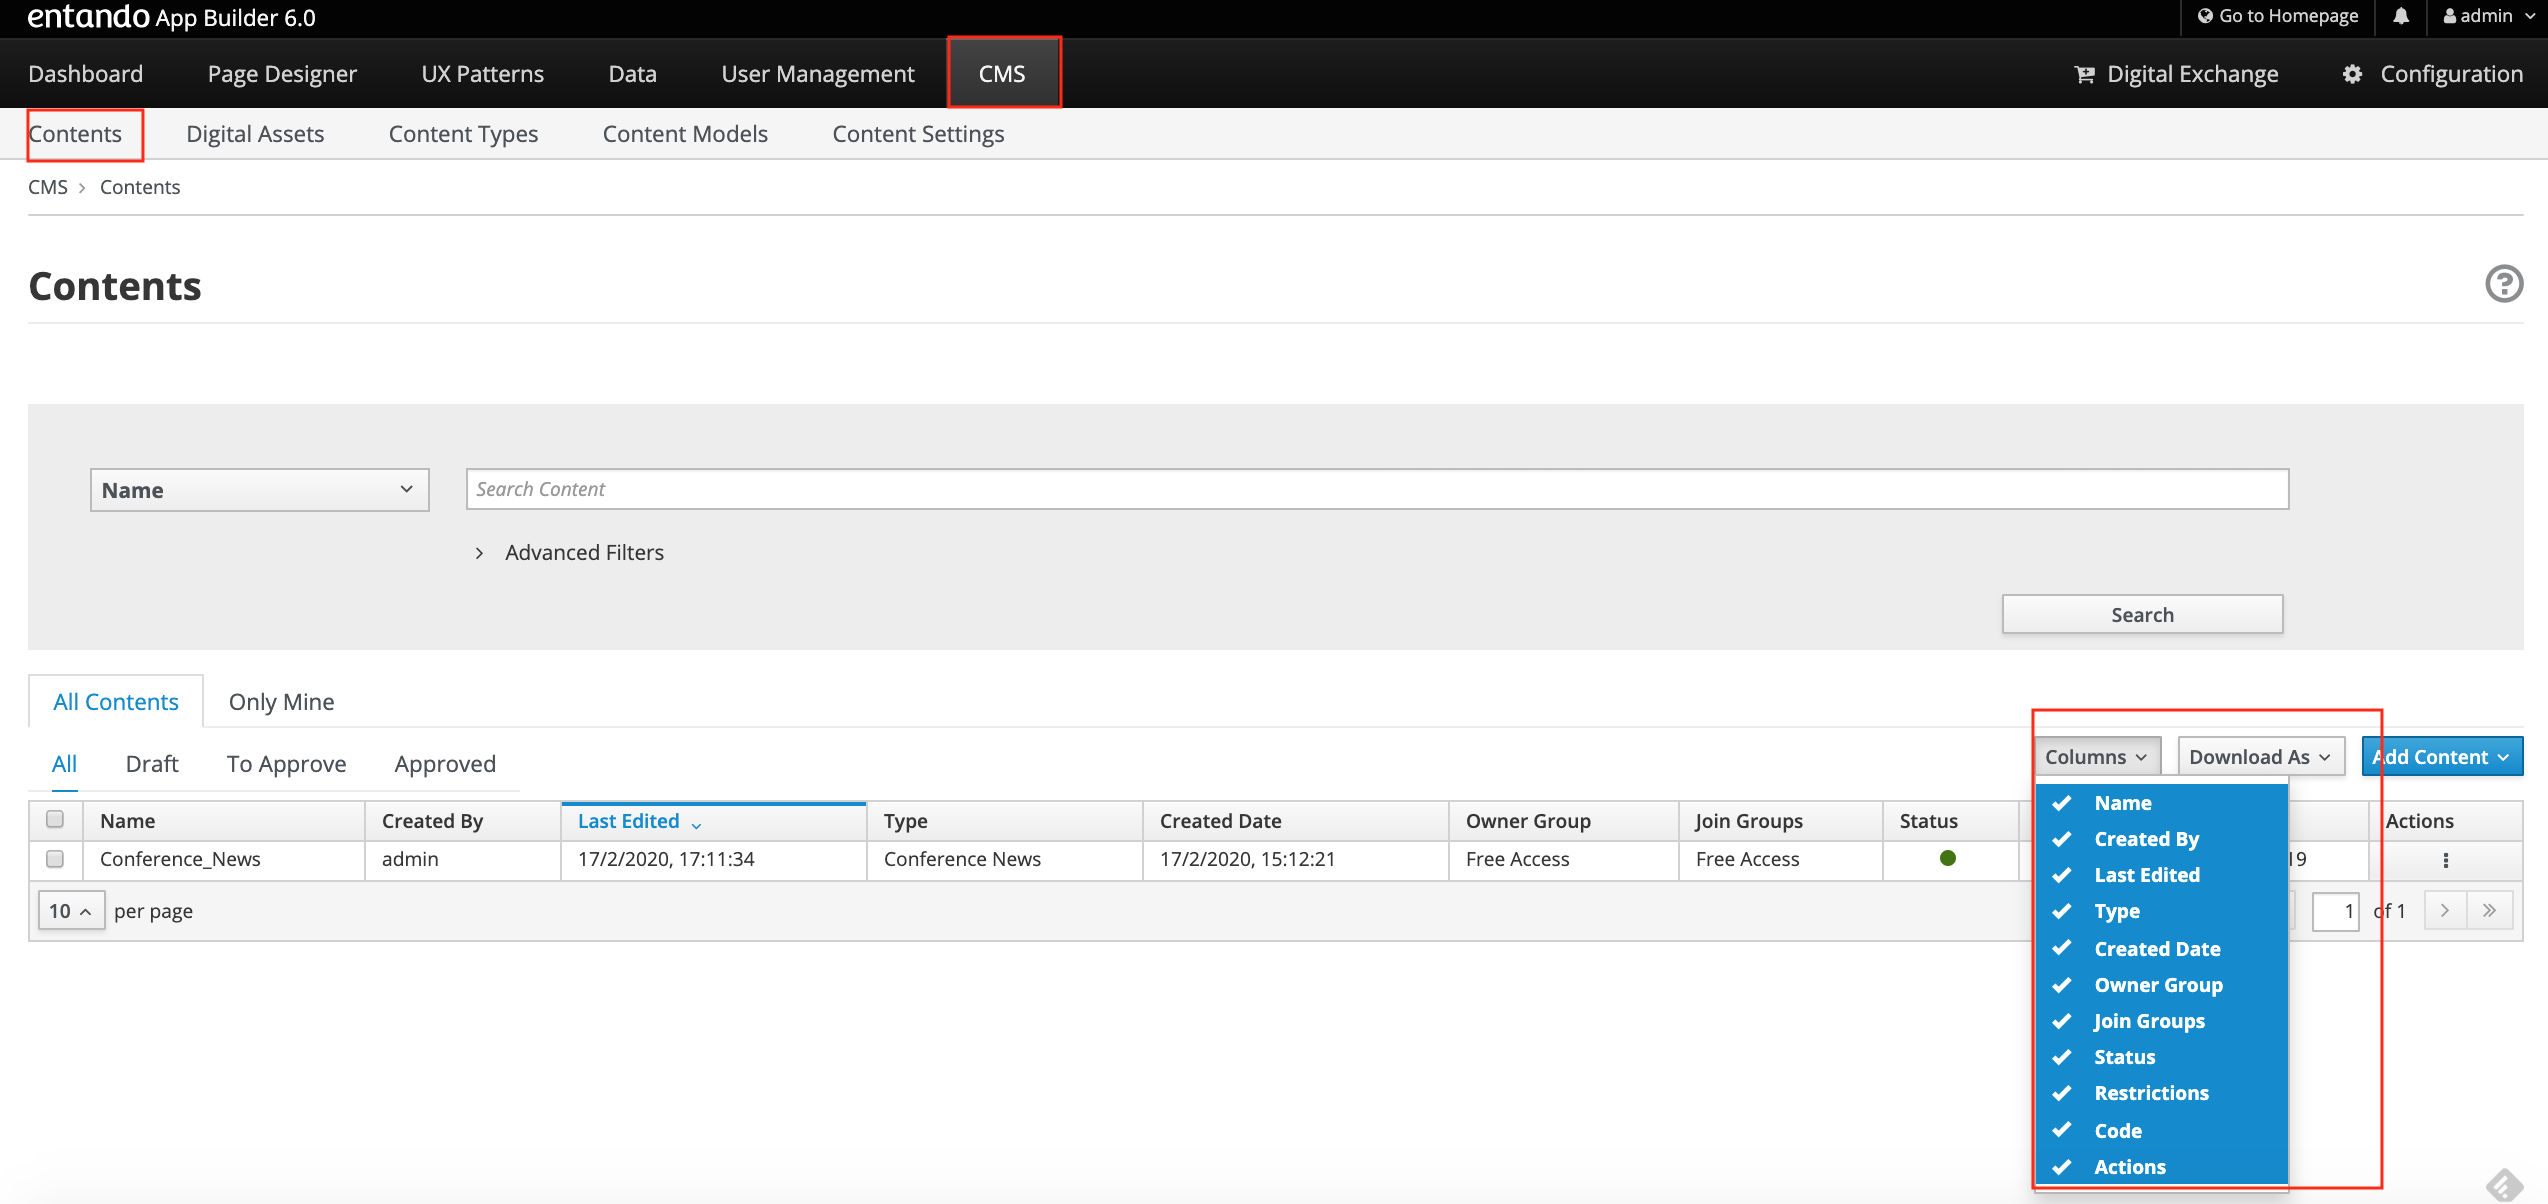
In the table list, contents are listed with several parameters: Name, Created by, Last Edited, Type, Created Date, Owner Group, Join Group, Status, Restrictions, Code, Actions. They can be shown, by setting them in the Columns filter.
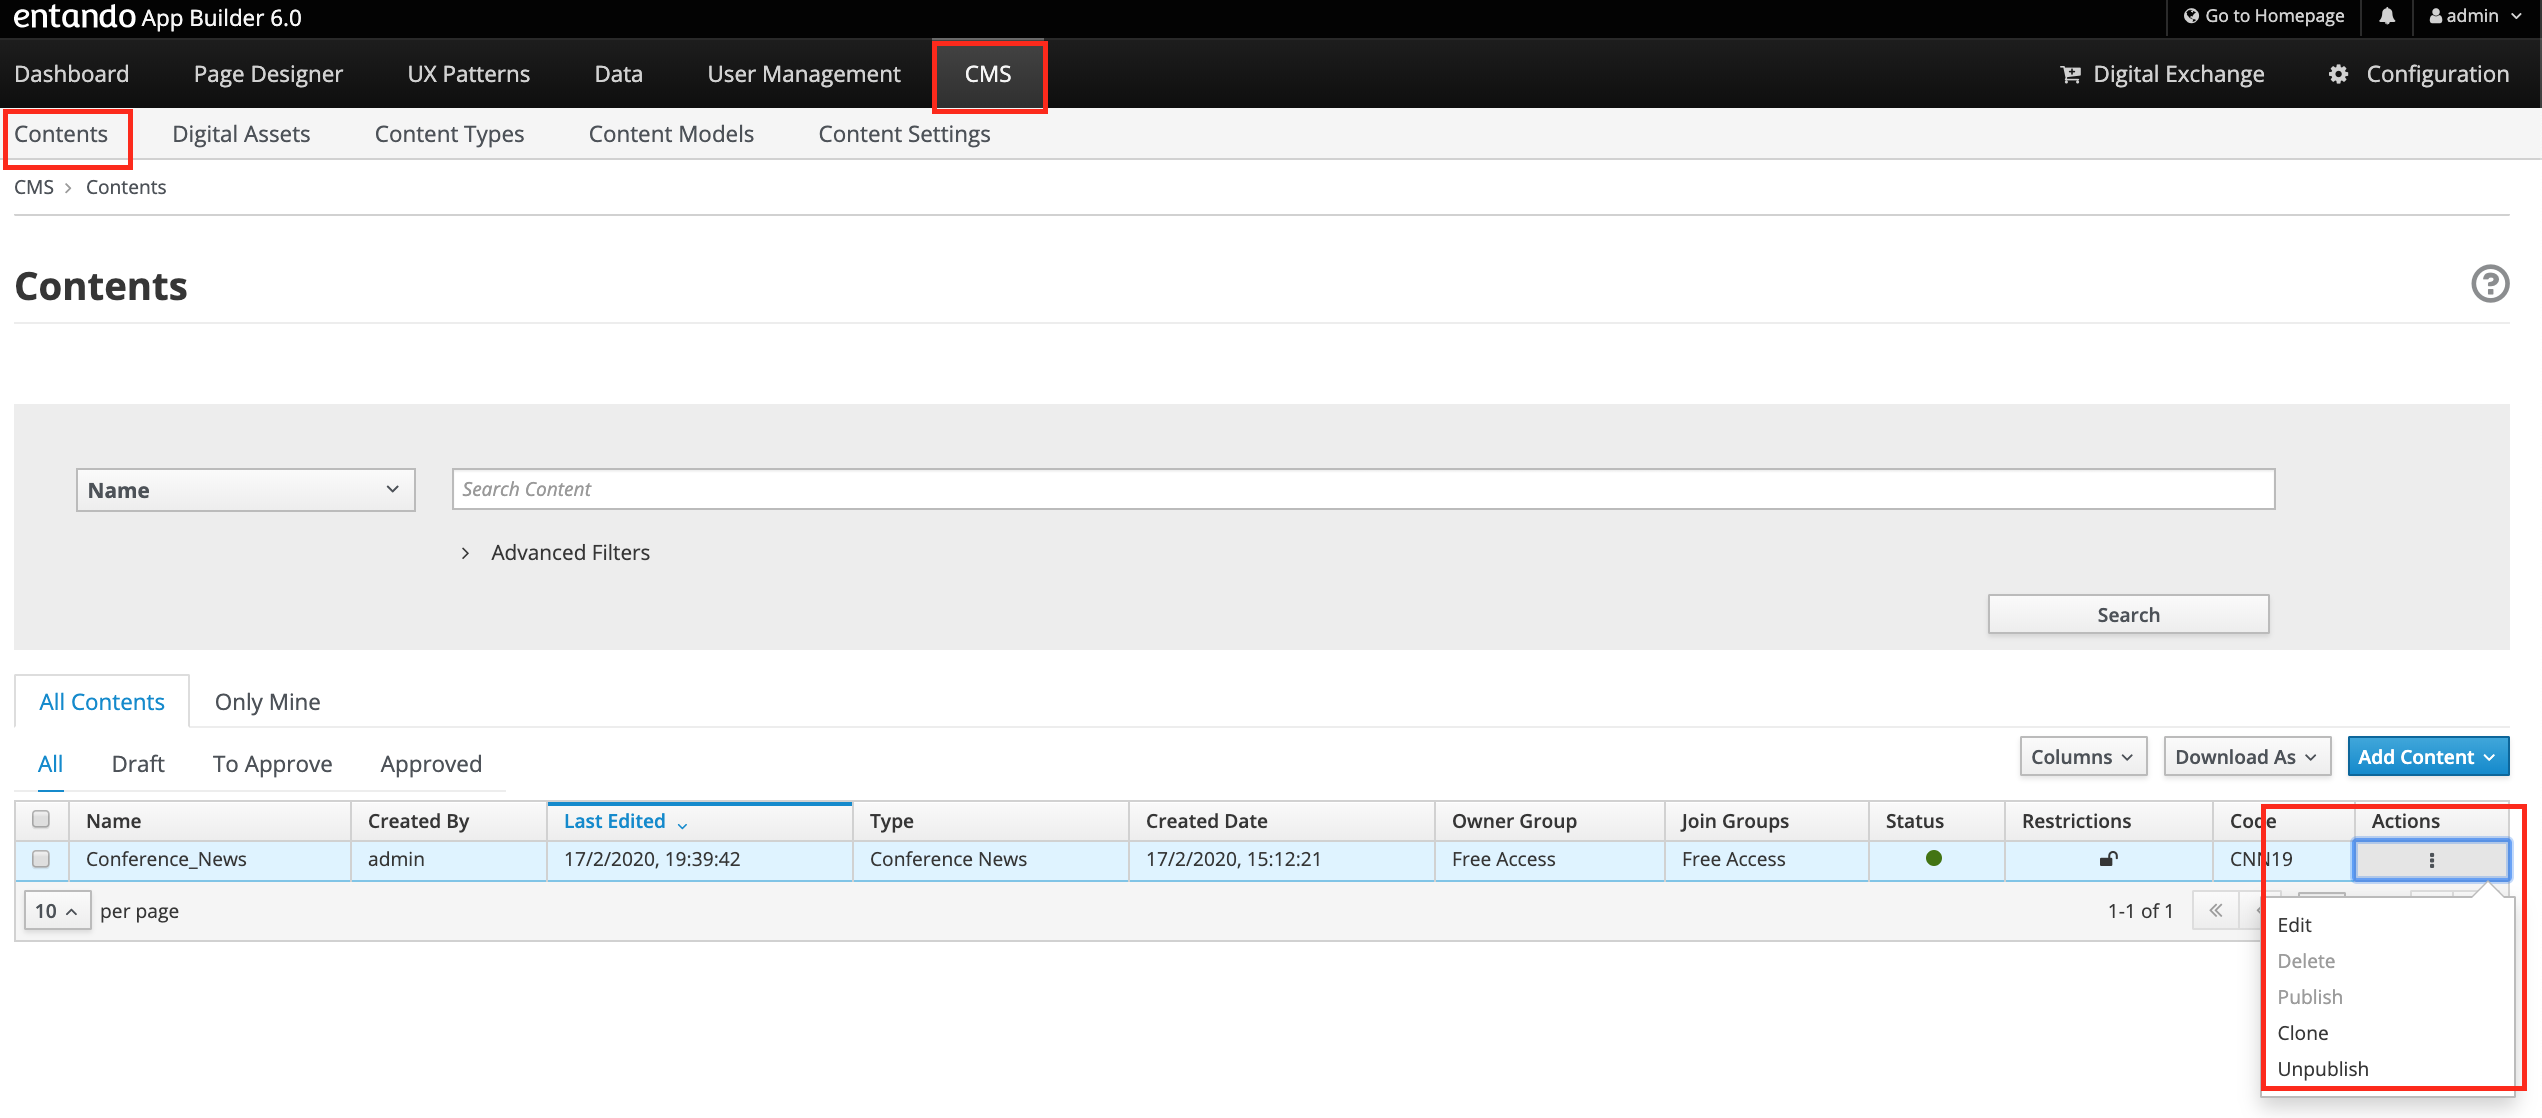
For every content in the list, you have access to a set of actions through the Actions kebab button, from which you can:
Edit, update the information data related to the content
Delete, remove the content
Publish, making the content visible
Clone, replicate the content
Unpublish, making the content invisible
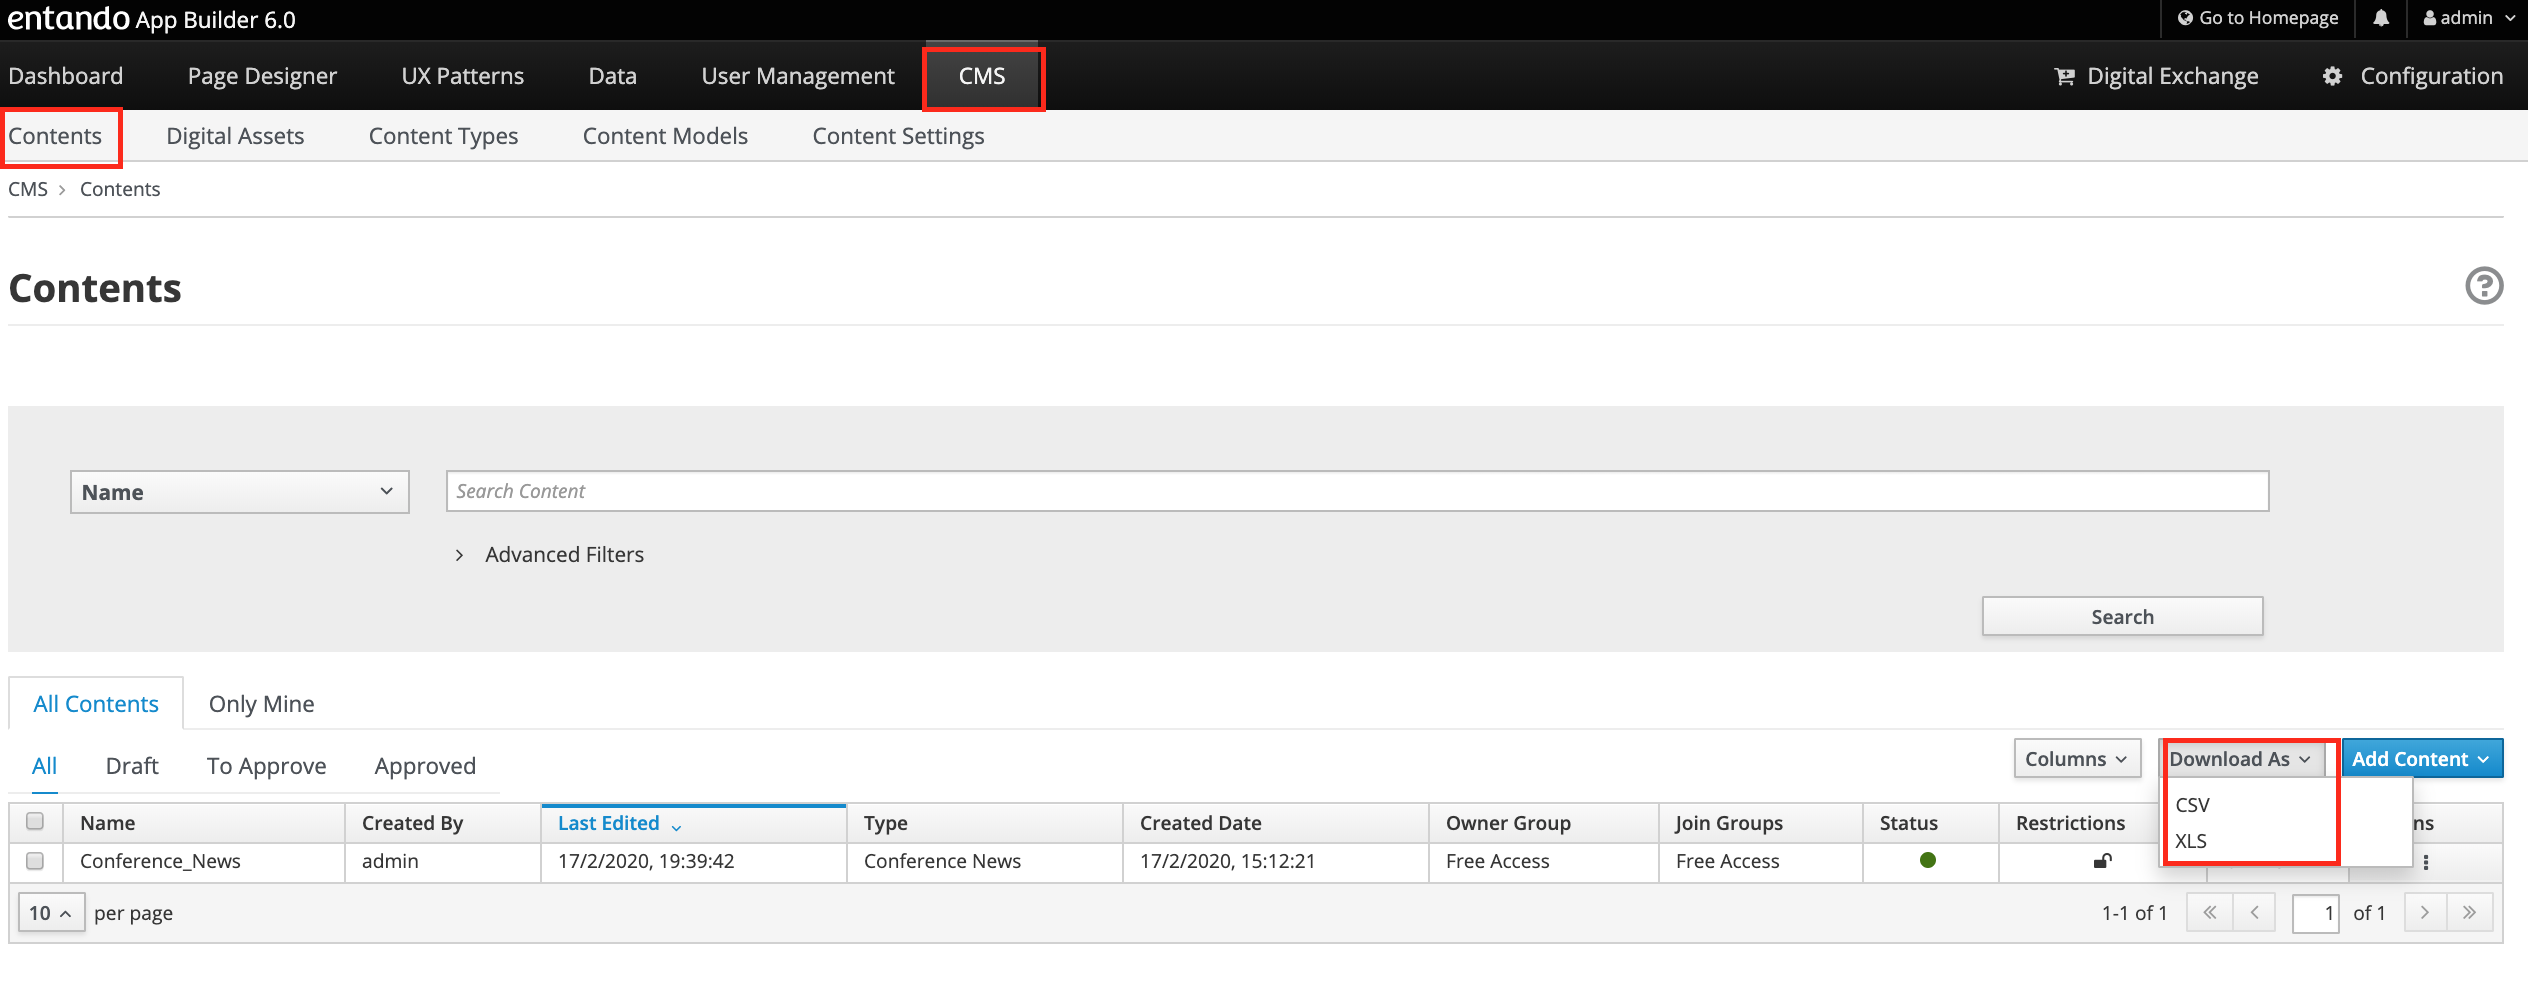
The contents list can be saved in your file system by clicking the Download button and selecting CSV or XLS format.