# Content Types
# Objective
This document provides an overview of the Content Types, as well as how they are created and represented.
# Overview
The Content Type is a construct used to represent or to model a Content. It is characterized by a set of Attribute Types[1] , each of which defines the value of their properties, called attributes. A Content is an instance or specialization of the Content Type.
# How to create a Content Type
Creating Contents Types is fairly simple. The Content Types are managed through the Web CMS, its user interface is made available in the App Builder application.
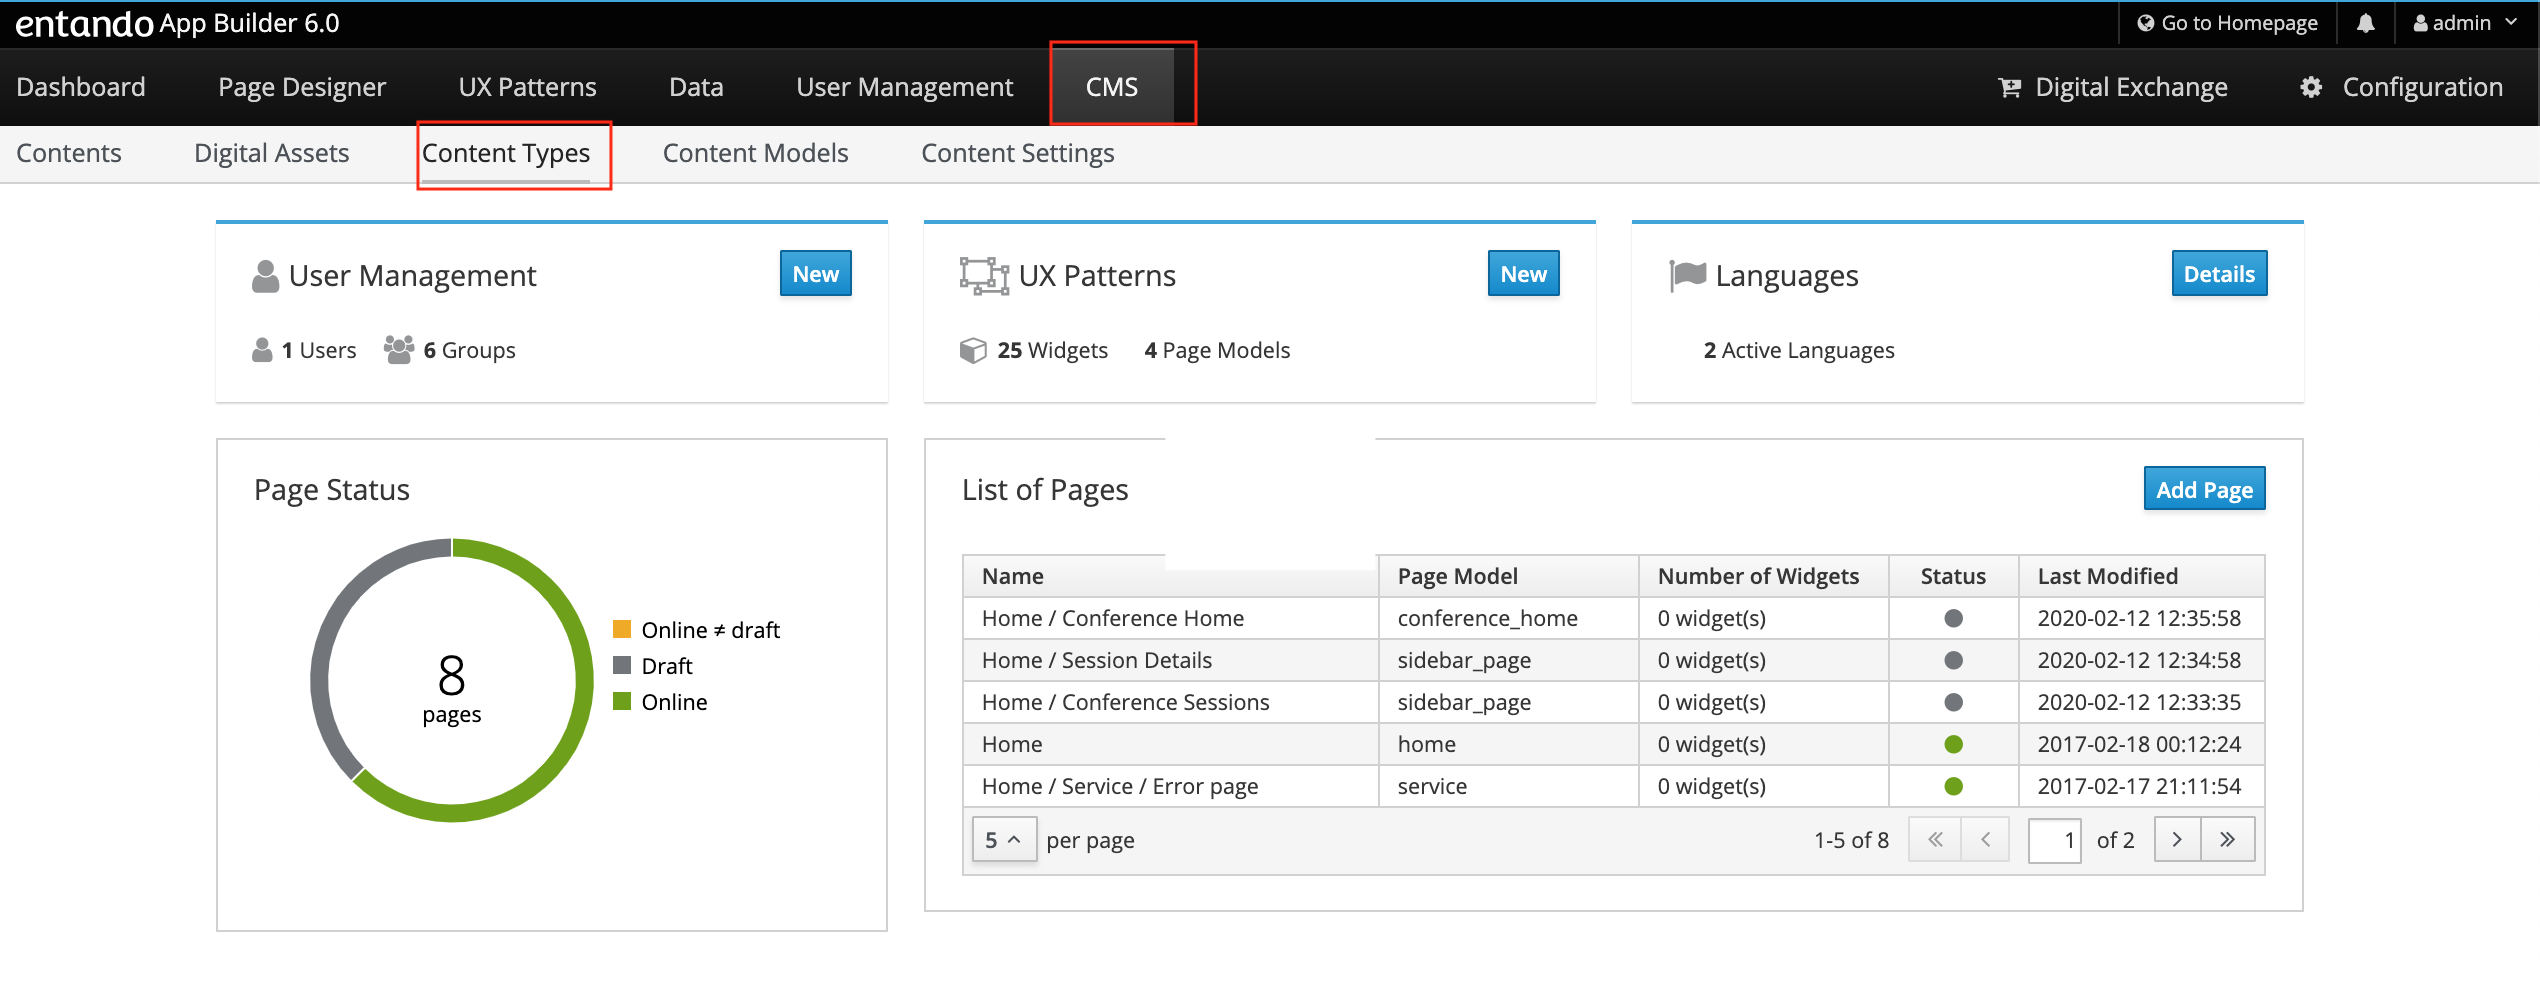
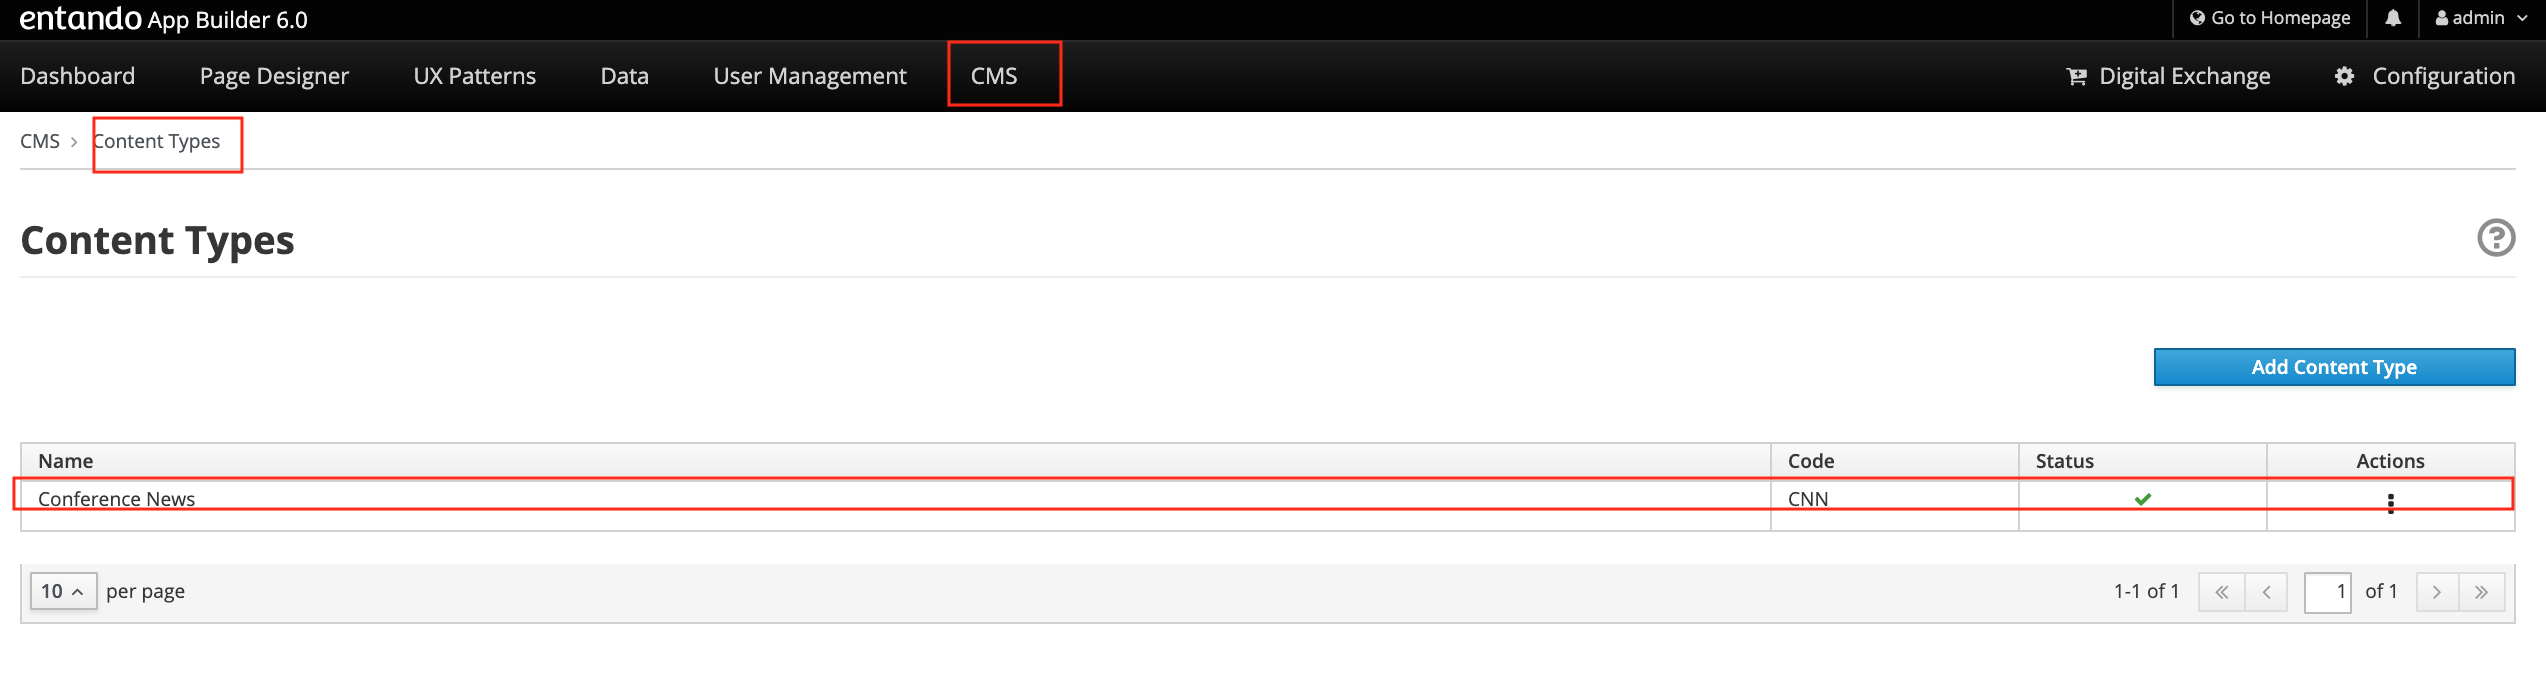
- From App Builder, select the CMS section and click on Content Types subsection.
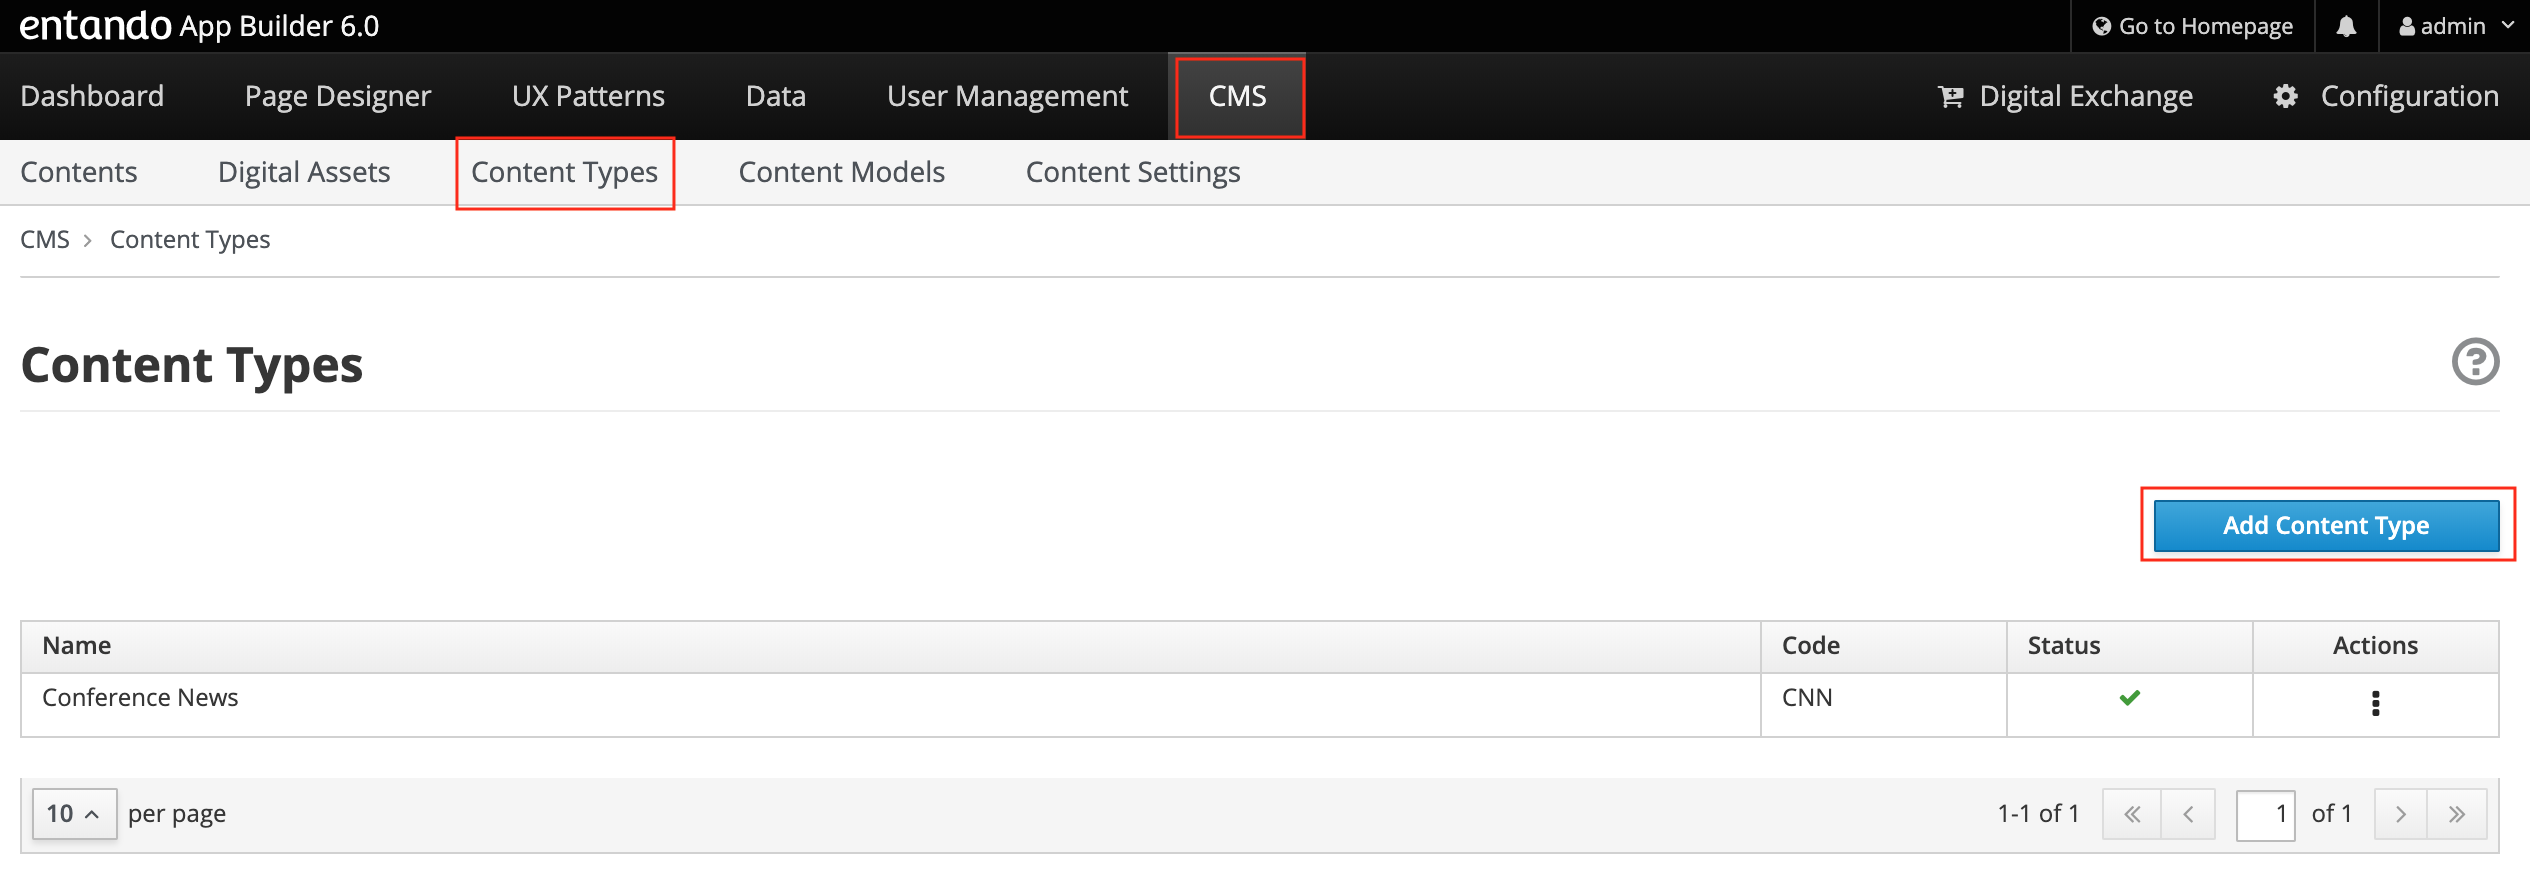
- Click on the Add Content Type button to create a new Content Type and to add it to the list.
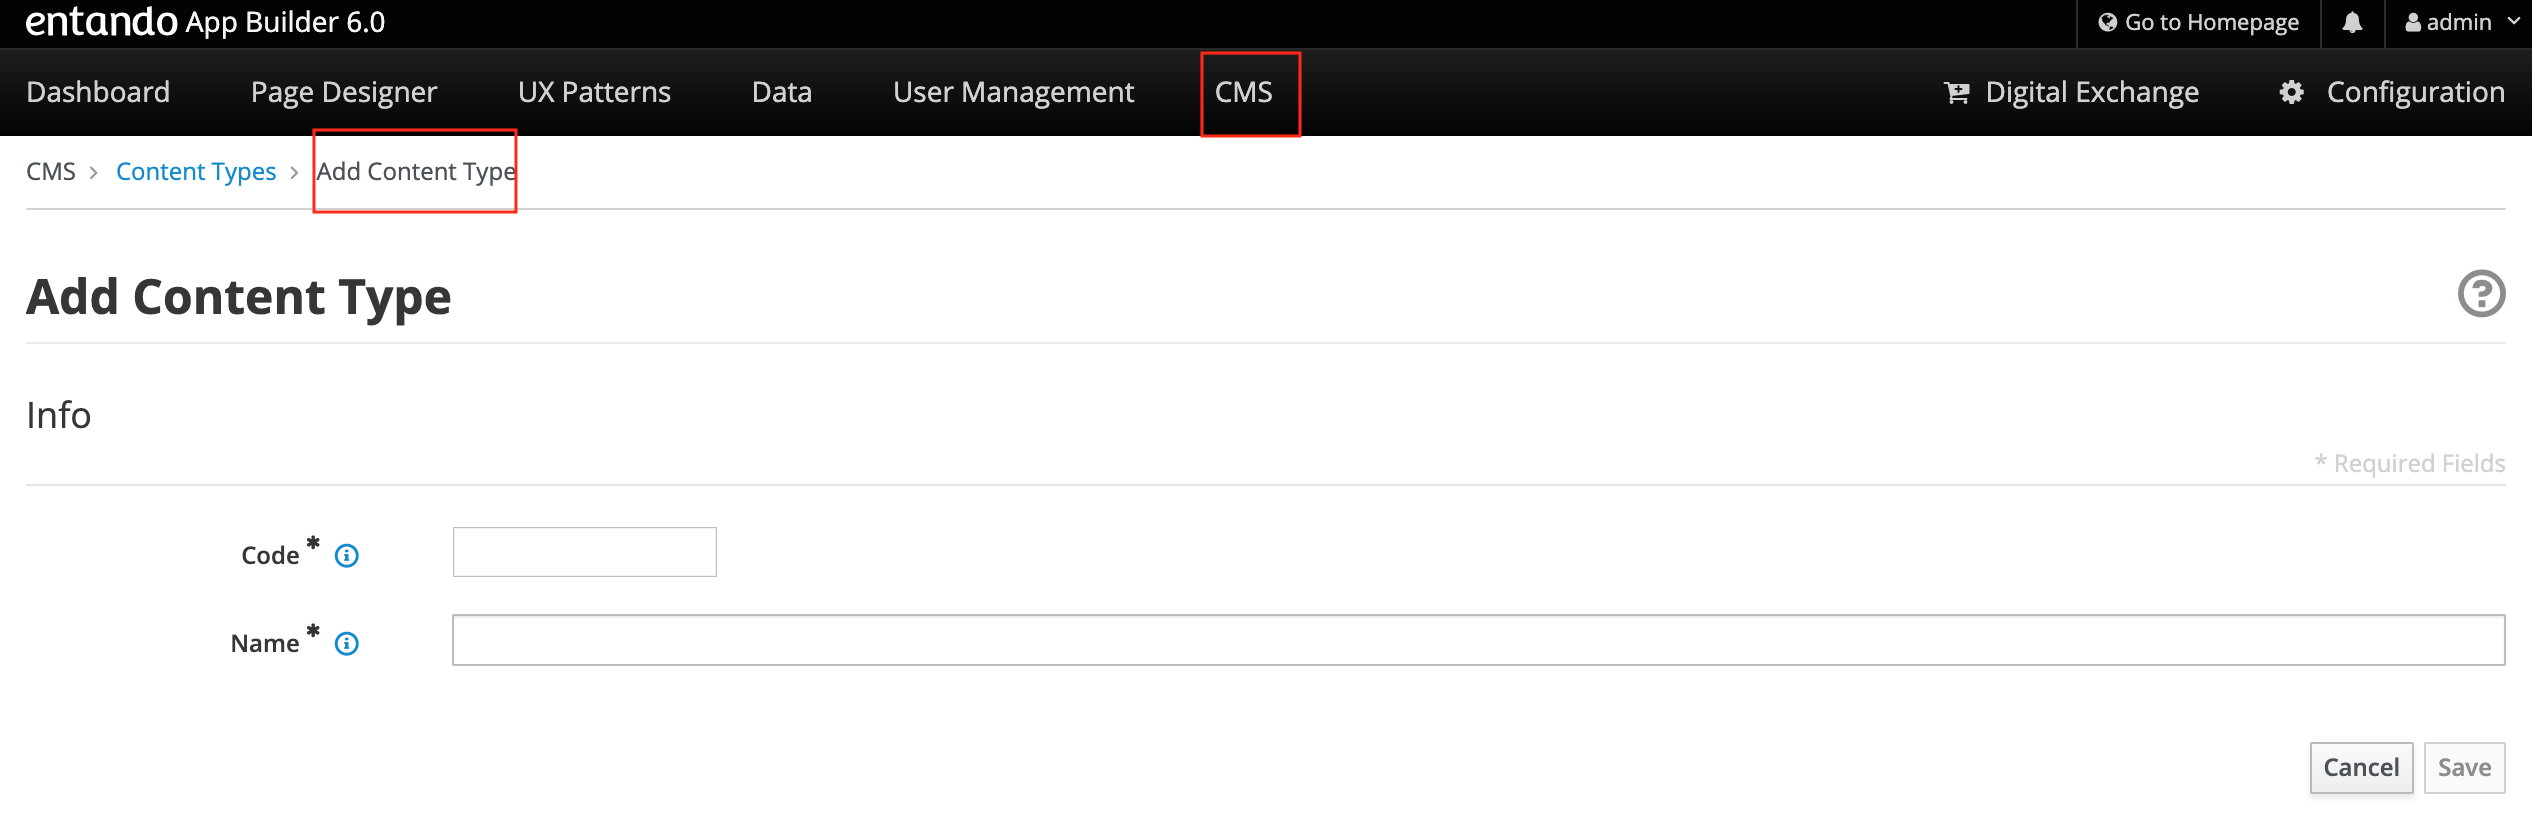
You be asked to provide
Code. The code is the unique identifier of the content type, that must be 3 uppercase letters, (e.g. CNN). It’s mandatory.
Name. The name must be max 50 characters uppercase and lowercase letters, including numbers and special characters, (e.g. Conference_News). It’s mandatory.
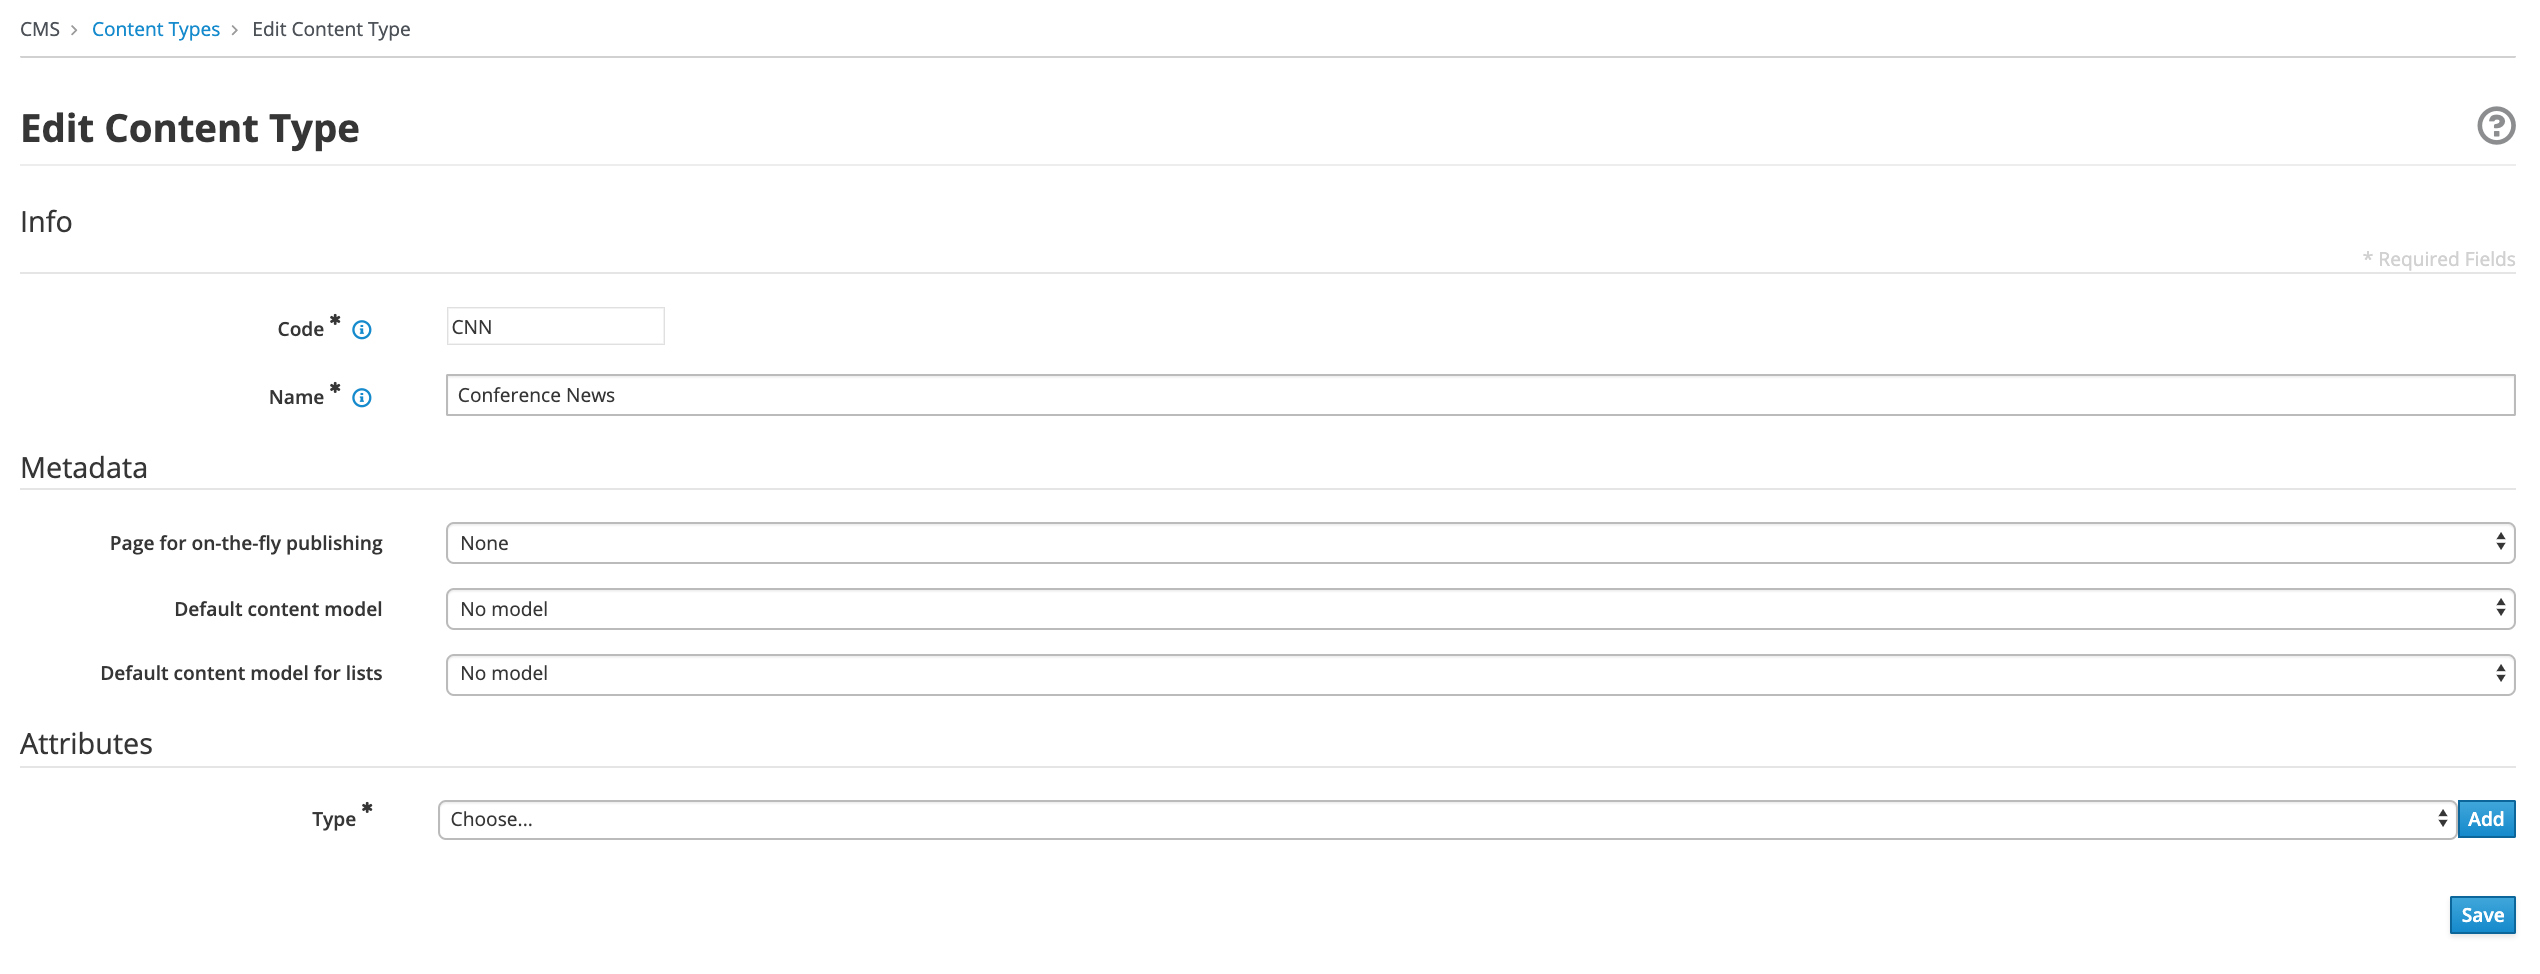
Select the Save button, then you’ll see
Content Type Information:
Code. The value is pre-filled.
Name. The name is pre-filled.
Metadata
Page for on-the-fly publishing
Default content model
Default content model for lists
“Default content model” and “Default content model for lists” are used respectively to show the detailed view of the Content and its representation as an element in a list, will be created later, during the creation and the content.
- Attributes
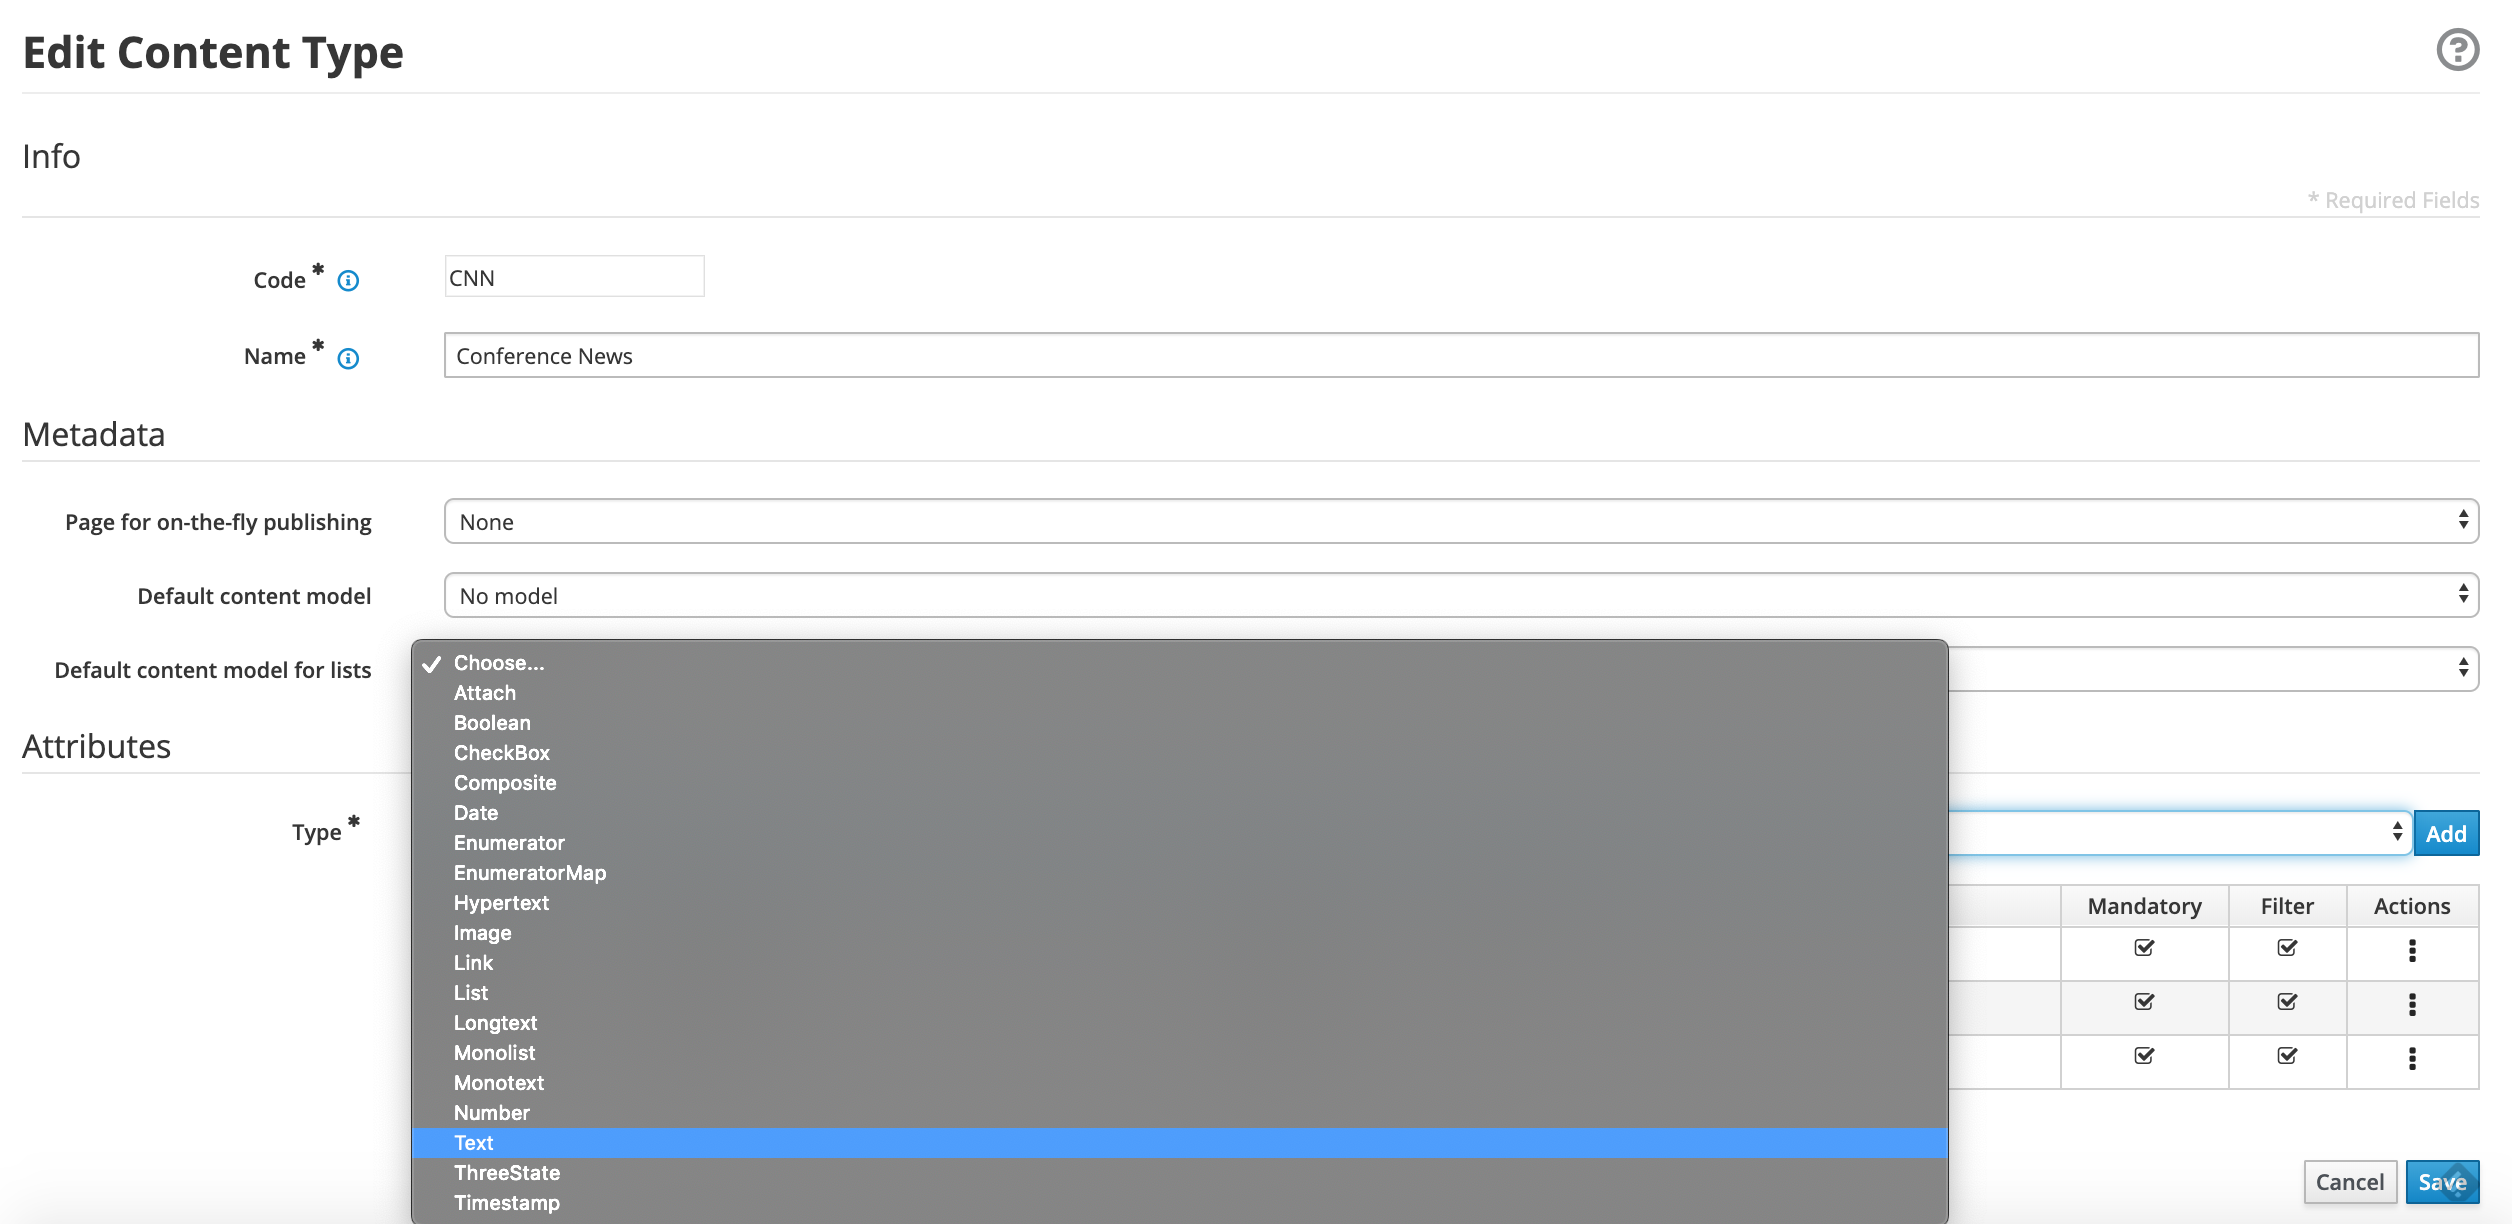
In the Attributes section, select the Type from the drop-down list. The list contains all the available attributes types that define which properties/attributes will characterize the Content.
The Add button will start the configuration of the single attribute type. Even every attribute type has its own configuration.
For example, to configure the Text Attribute Type, choose Text from the Types drop-down menu and then press the blue Add button.
You should specify the following fields
Type: the value is the pre-filled. It represents the selected attribute type
Code: Title. You should insert the name of the attribute. (You can insert max 10 characters uppercase and lowercase letters, numbers, and special characters _ ). (e.g. title)
Name: Title. You should insert the description of the attribute. (You can insert max 50 characters uppercase and lowercase letters, including numbers and special characters). (e.g. Title).
You should declare if the attribute is mandatory, searchable, and to be used as a filter in the list.
The Roles section it is possible to assign the jacms:title Attribute Role to this attribute; in this way other plugins or services will know that within the CNG entity this attribute is a title, whatever the key is; however, for sake of clarity, the Code of the attribute is Title.
The remaining fields related to Sections and Validation - OGNL sections are not mandatories, you can leave empty.
Press the Continue button. The Text attribute type requires no additional configuration step.
You can add other Attributes Types.
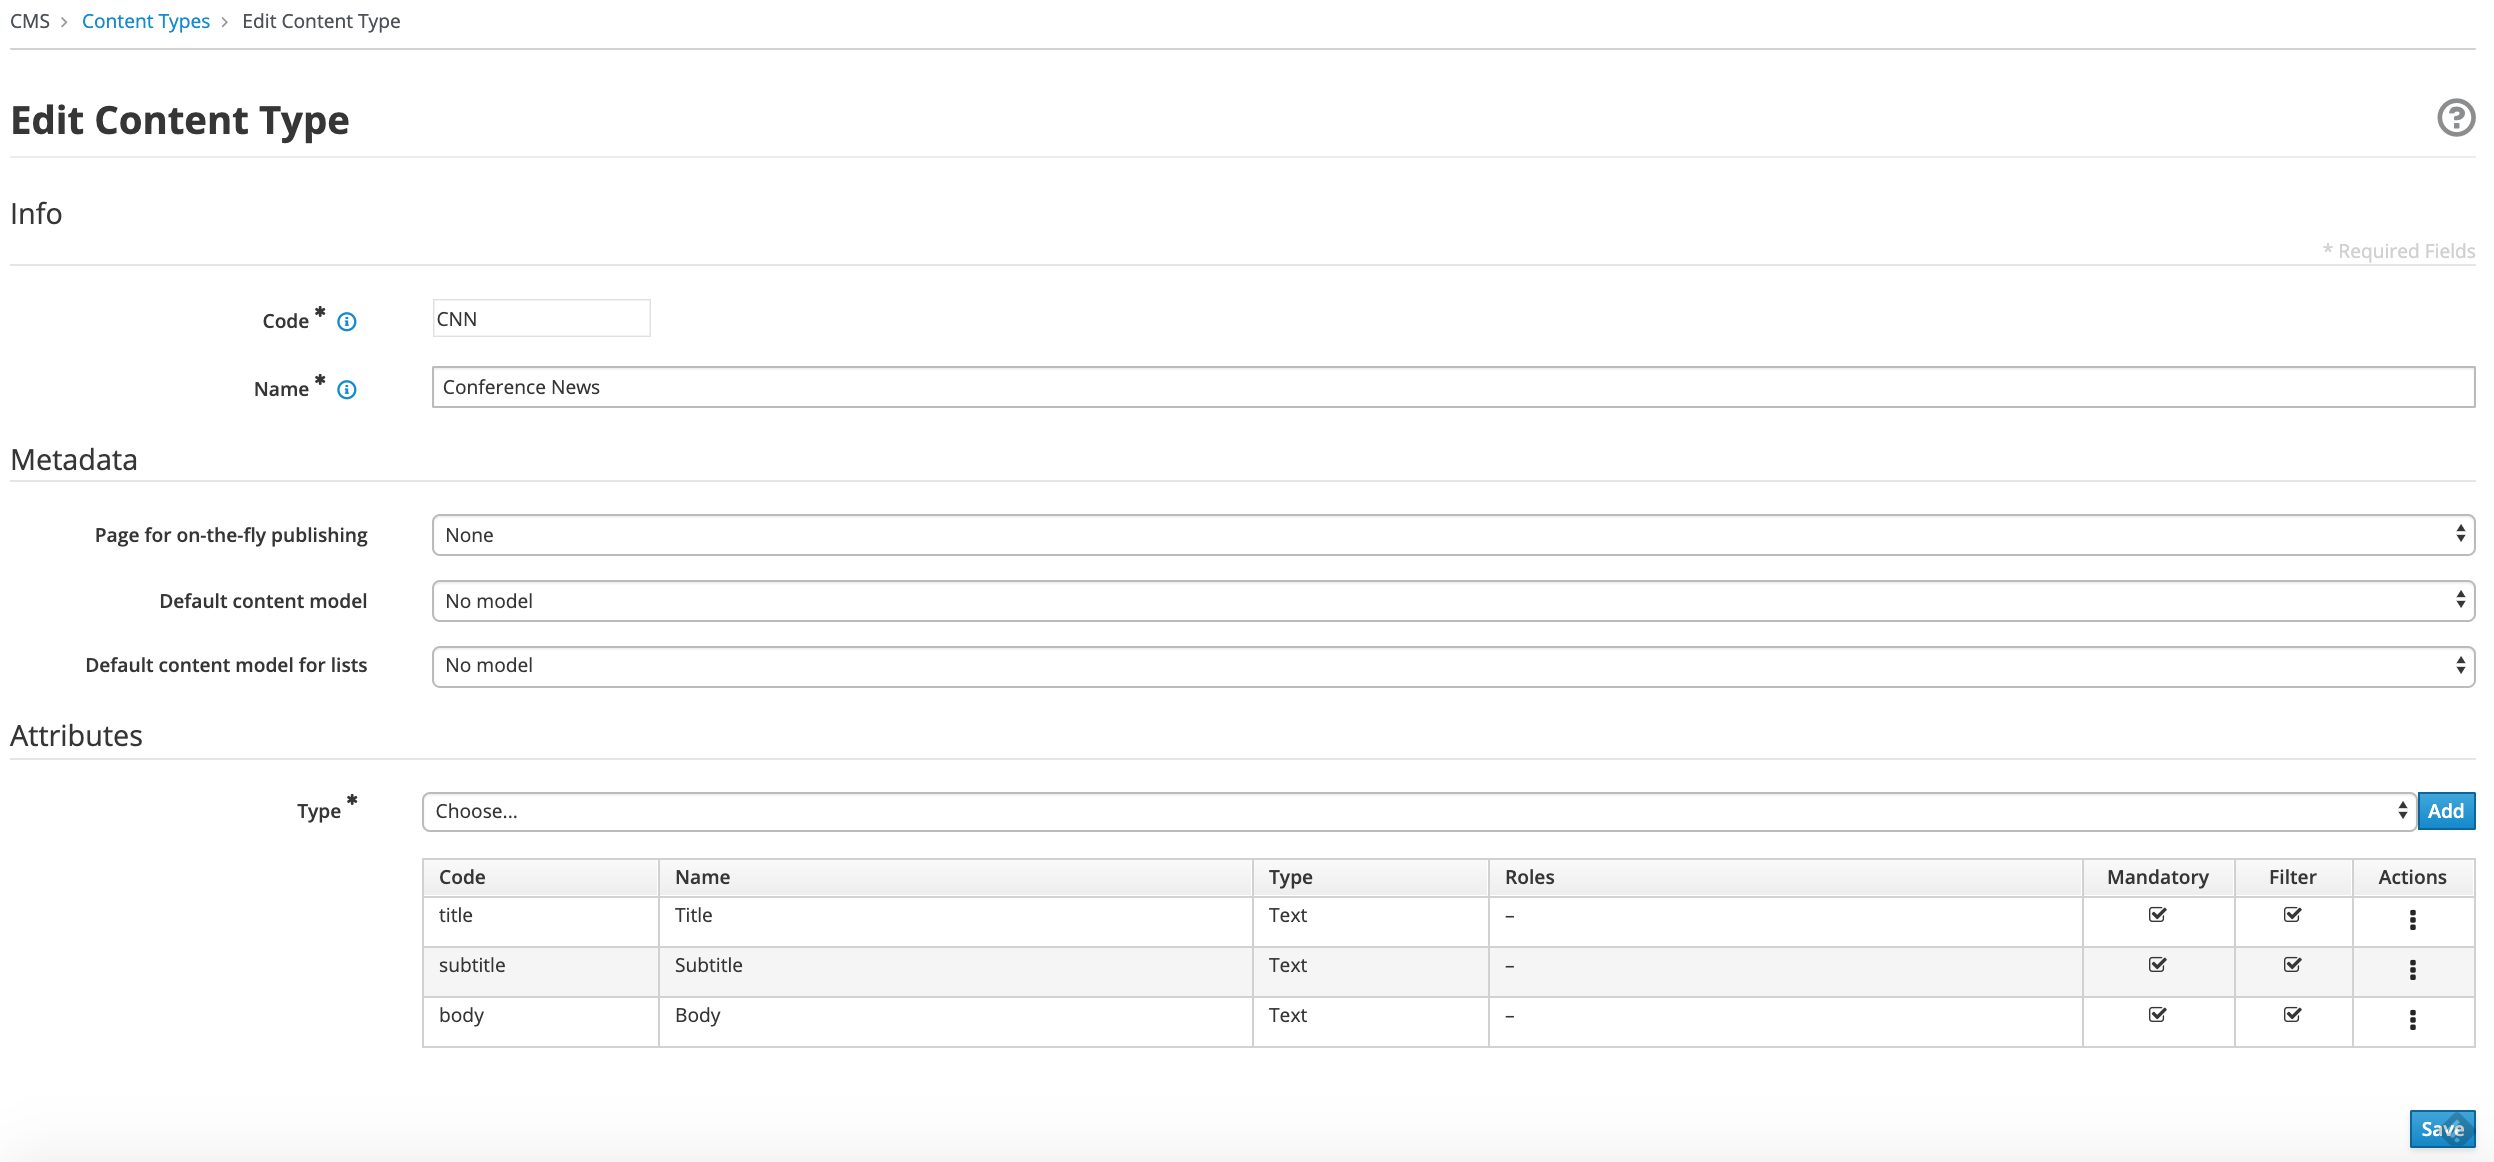
- Press the Save button. The Content type will be saved and displayed in the table list
[1] Consult the “List of Content Types” document for more details.